While there are more than a few choices in the area of Network Storage, I decided to go with a Drobo because of their rock solid reputation. Most articles I saw online are professionals using Drobo, but let me tell you, a Drobo is just as useful at home as in an office setting. I have been using my Drobo purely as a storage/backup device, without any issues. I started out with 2 Drives, and gradually built up to 4. Couple of years back one of my drives failed and a simple swap fixed the situation.
Drobo’s come with a whole family of very advanced and useful apps for you to use. As a habit and for clean “book keeping”, I will create dedicated shares for each of these use cases.
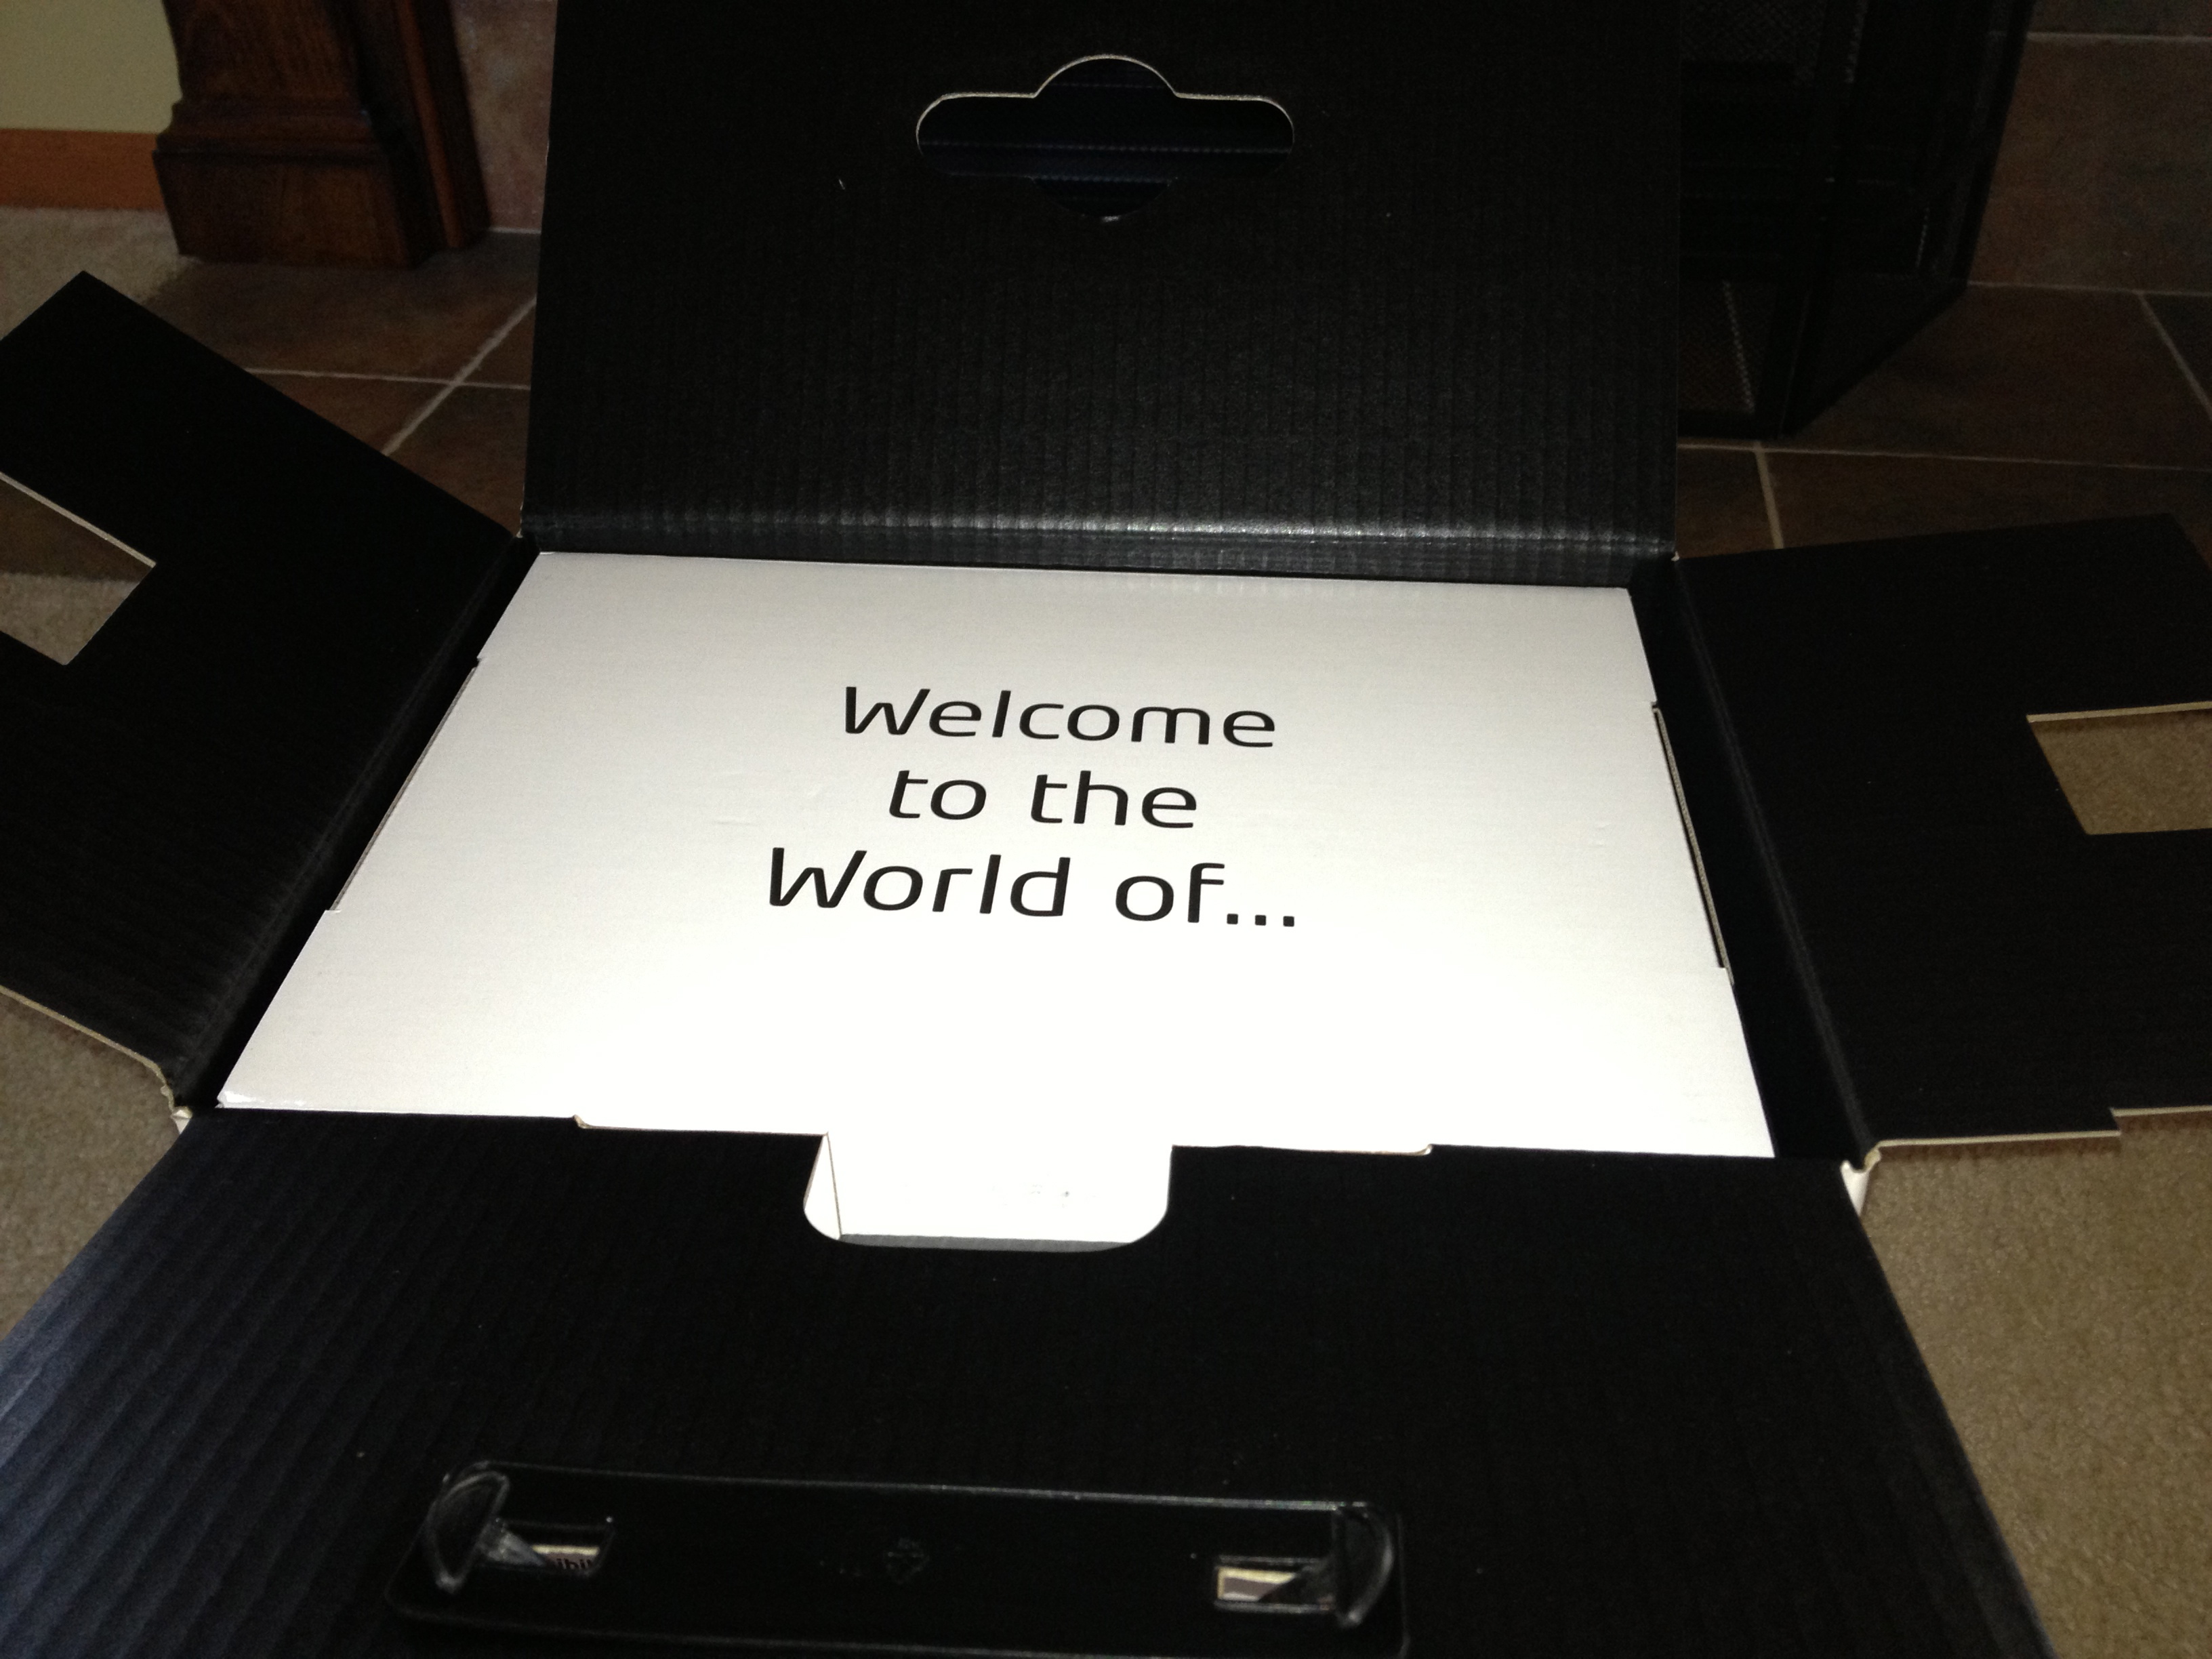
Unboxing and Initializing
Step 1: Unbox, let the system initialize and then slide the drives in . This took around 10 minutes I would say. I wasn’t paying attention.


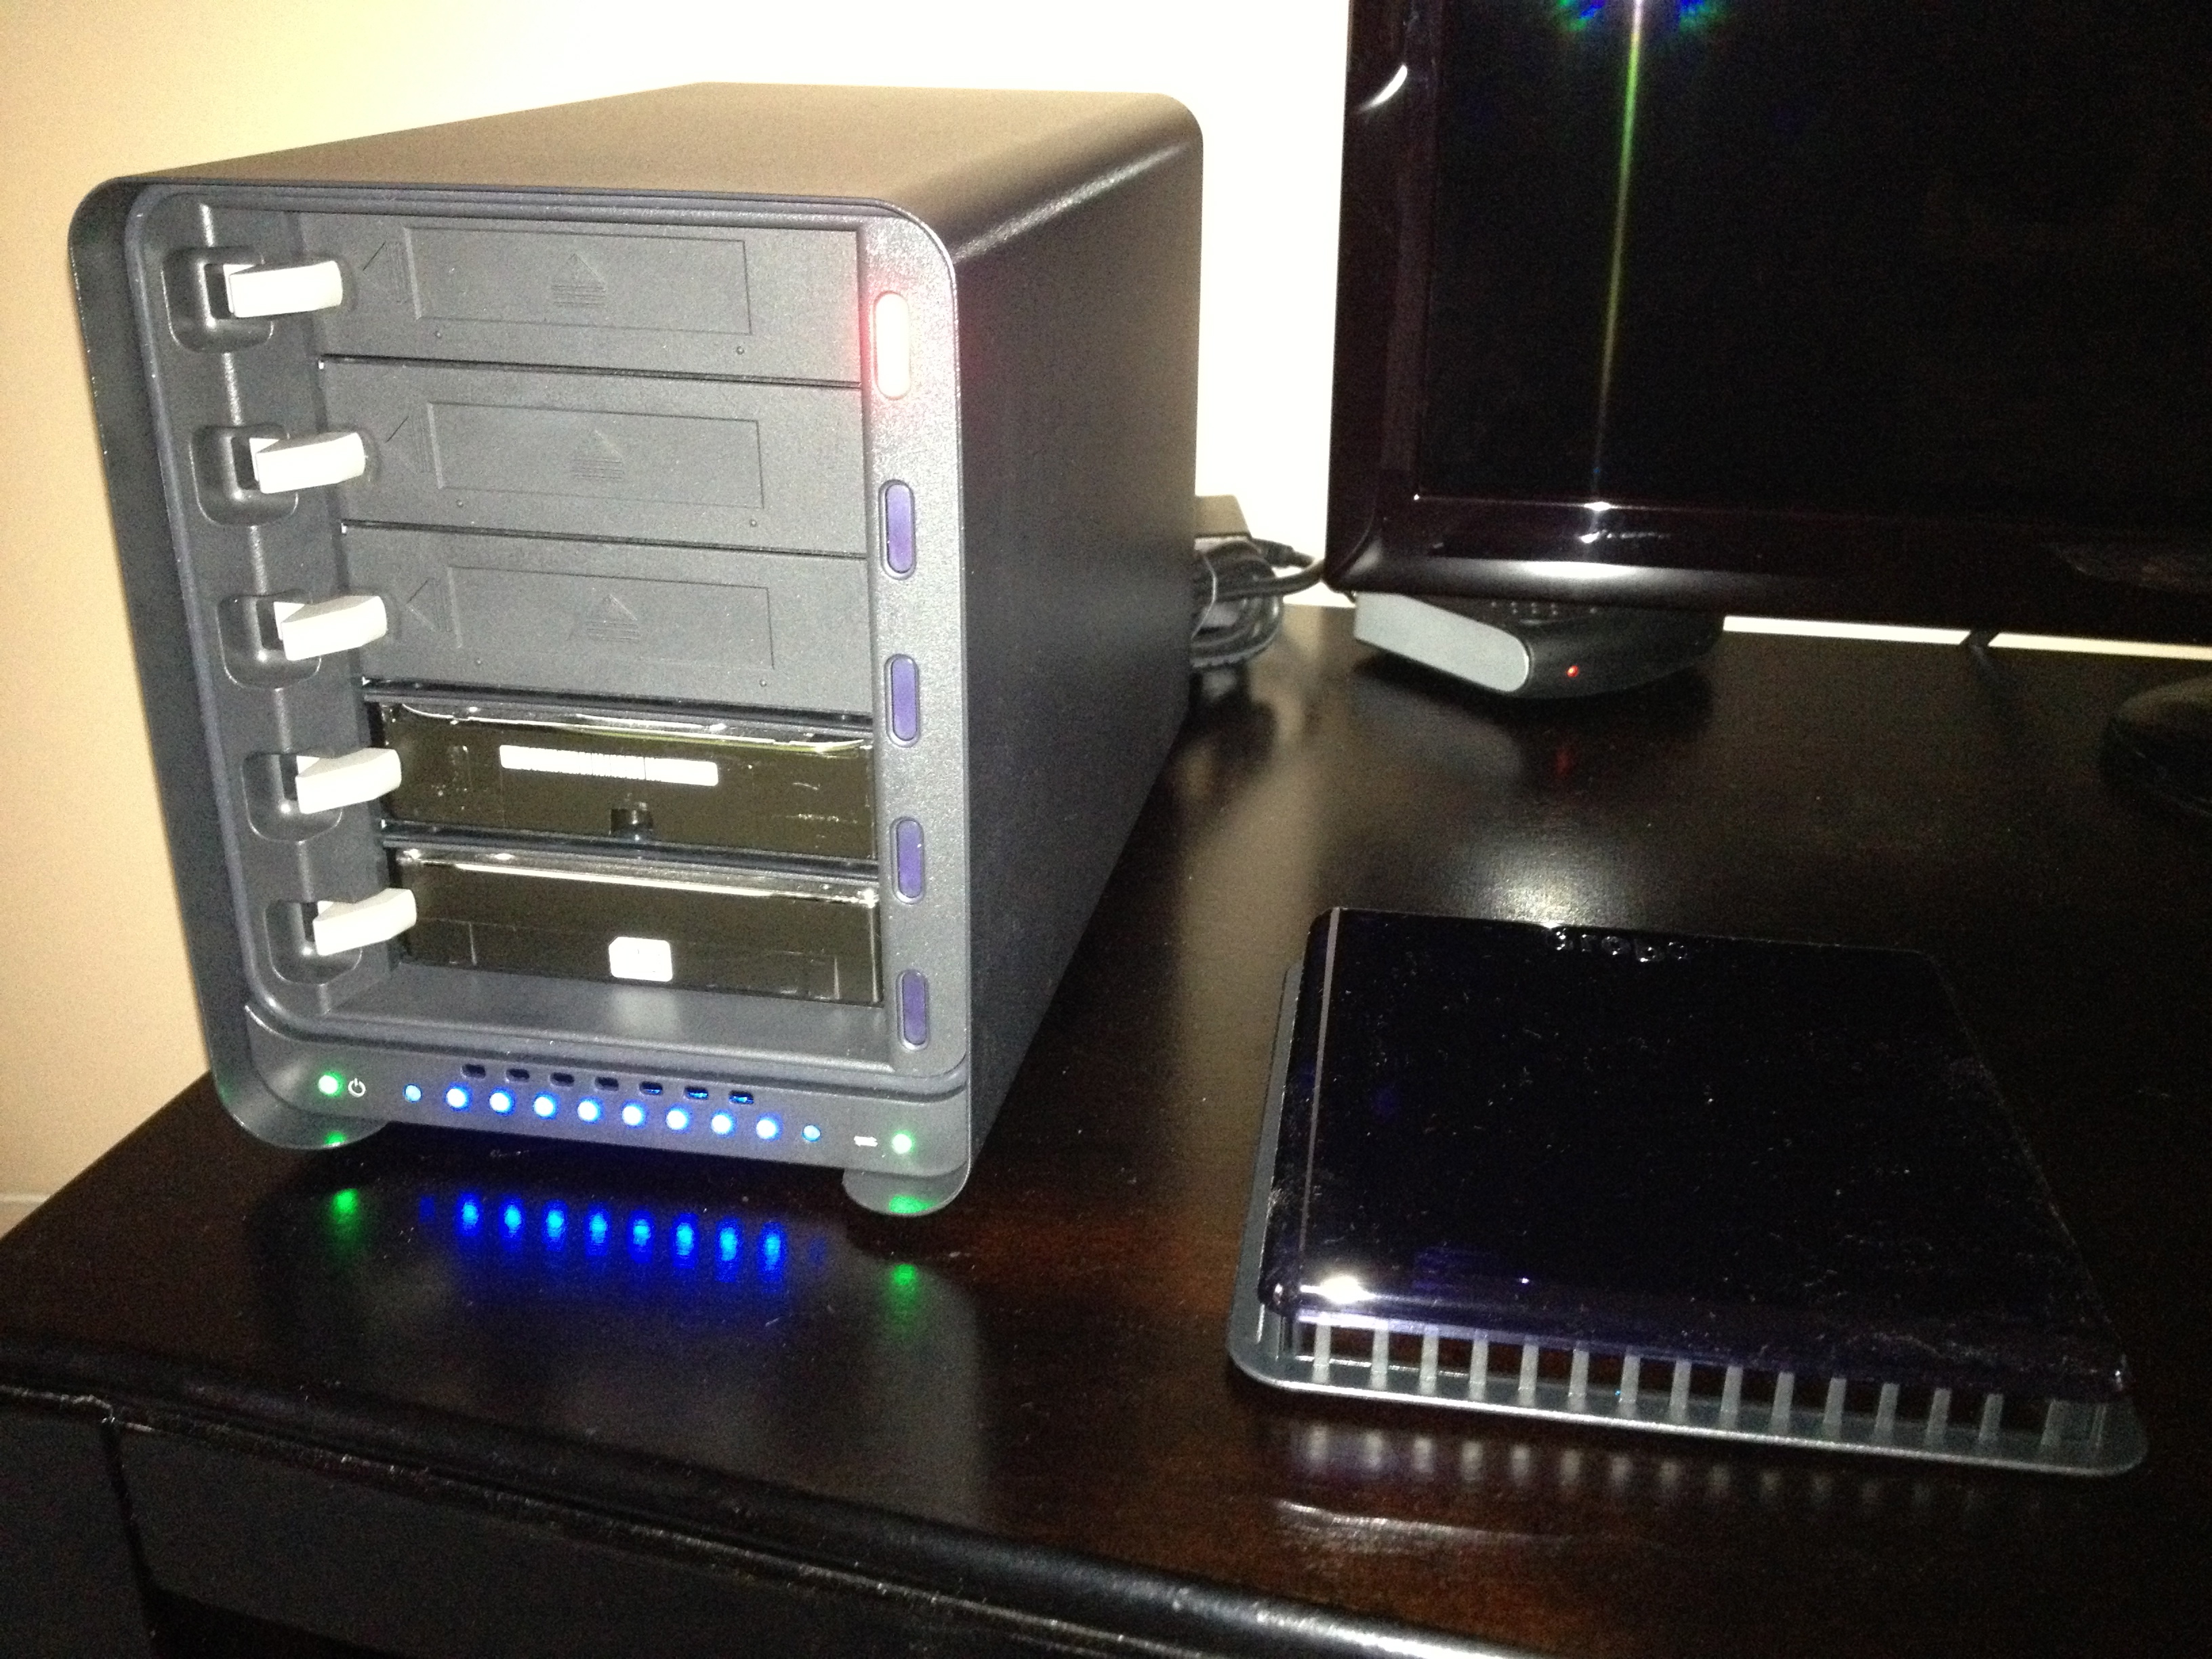


One weird fact about the Drobo. You have to start loading drives the top down. Bottom up doesn’t seem to work!
Setting Up
Once your Drobo is initialized, you can start setting it up.The following are the steps I followed… (Pix with Captions below):


