Our Range Hood was showing signs of age :-). It has served us well for 10 years now, and it was time to replace it. While it felt a bit intimidating initially, it eventually turned out to be pretty easy.
I will recommend that you switch off the main power before you start unplugging things. This is really really important (and should be obvious).

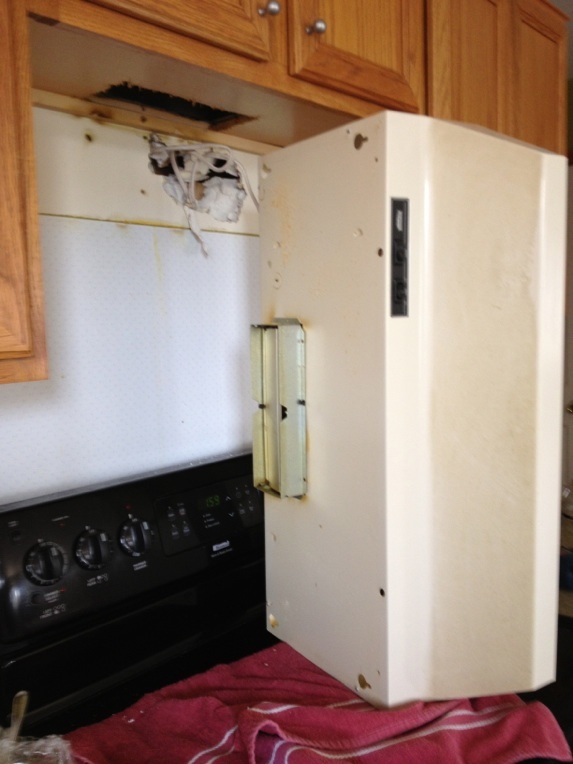
It is very important to remove the original hood first. This will allow you to see what kind of connections you need to account for.
Next, unpack and disassemble the new hood.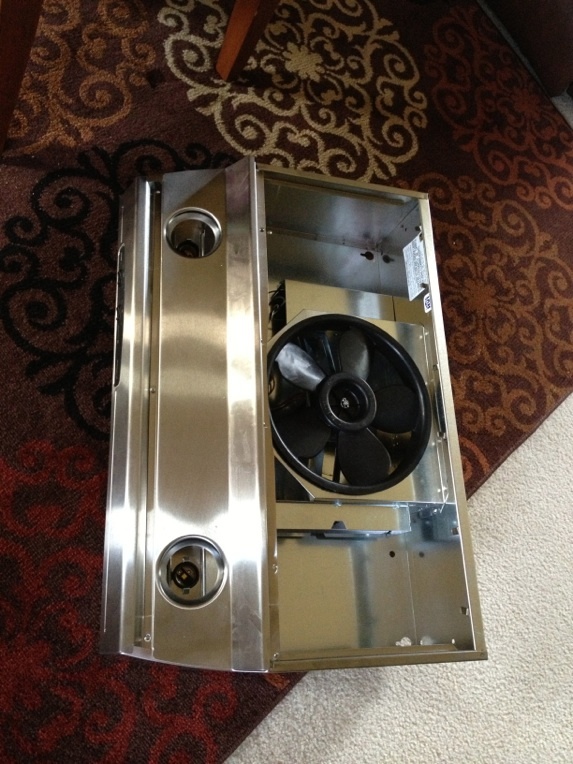
Based on the exhaust connector, pop out the appropriate cutout.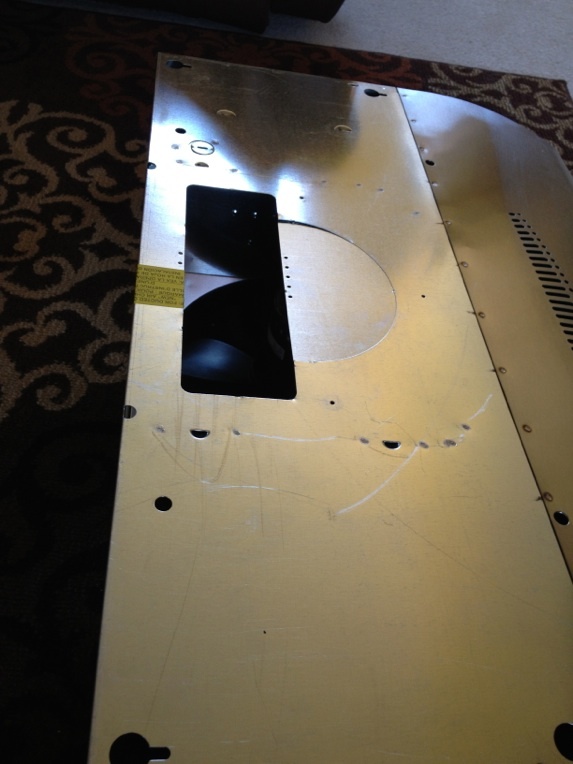
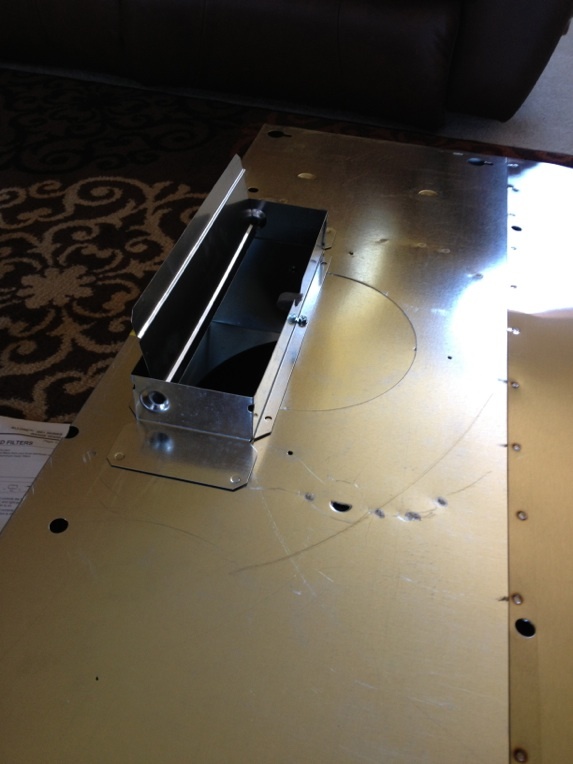
Attach the valve box (??) to the cutout.
This is where it got a bit challenging. The new hood was a bit heavier, and I was not able to hold it and screw it in. So I did what all good engineers do. I improvised.

Once all the screws were in place, we put the charcoal as well as the mesh filters on the front. The new hood is ready to go. Now we just have to make sure we keep it clean 🙂

