After spending a good amount of time debating between a DYI Raid setup vs an off the shelf solution, and researching options in each of these, I ultimately decided to go with Synology. Synology offers several models, I initially considered the 4-bay DS423, but after additional thought, I opted for the 2-bay DS224+.
Having got burnt by my DROBO and its proprietary BeyondRAID, I decided to keep things simple by setting up RAID 1 with two 12TB drives. To get the Synology running smoothly from the start, I also went with the optional with the 4GB of memory.
The build was pretty straightforward. (See my video below for details.)
Once built, I powered up the Synology and connected it to my network. My next question was “how do I connect to the DS”. After some searching, I found two options: using your browser use either find.synology.com or synologynas:5000. Unfortunately both of these didnt work for me. I was finally able to connect using the Synology’s IP address: 5000. Oh BTW, I recommend creating an account on the Synology web site before you do the setup. It is something you will need while setting up your Synology.
Check out the video below, to see how you can set up your personal cloud:
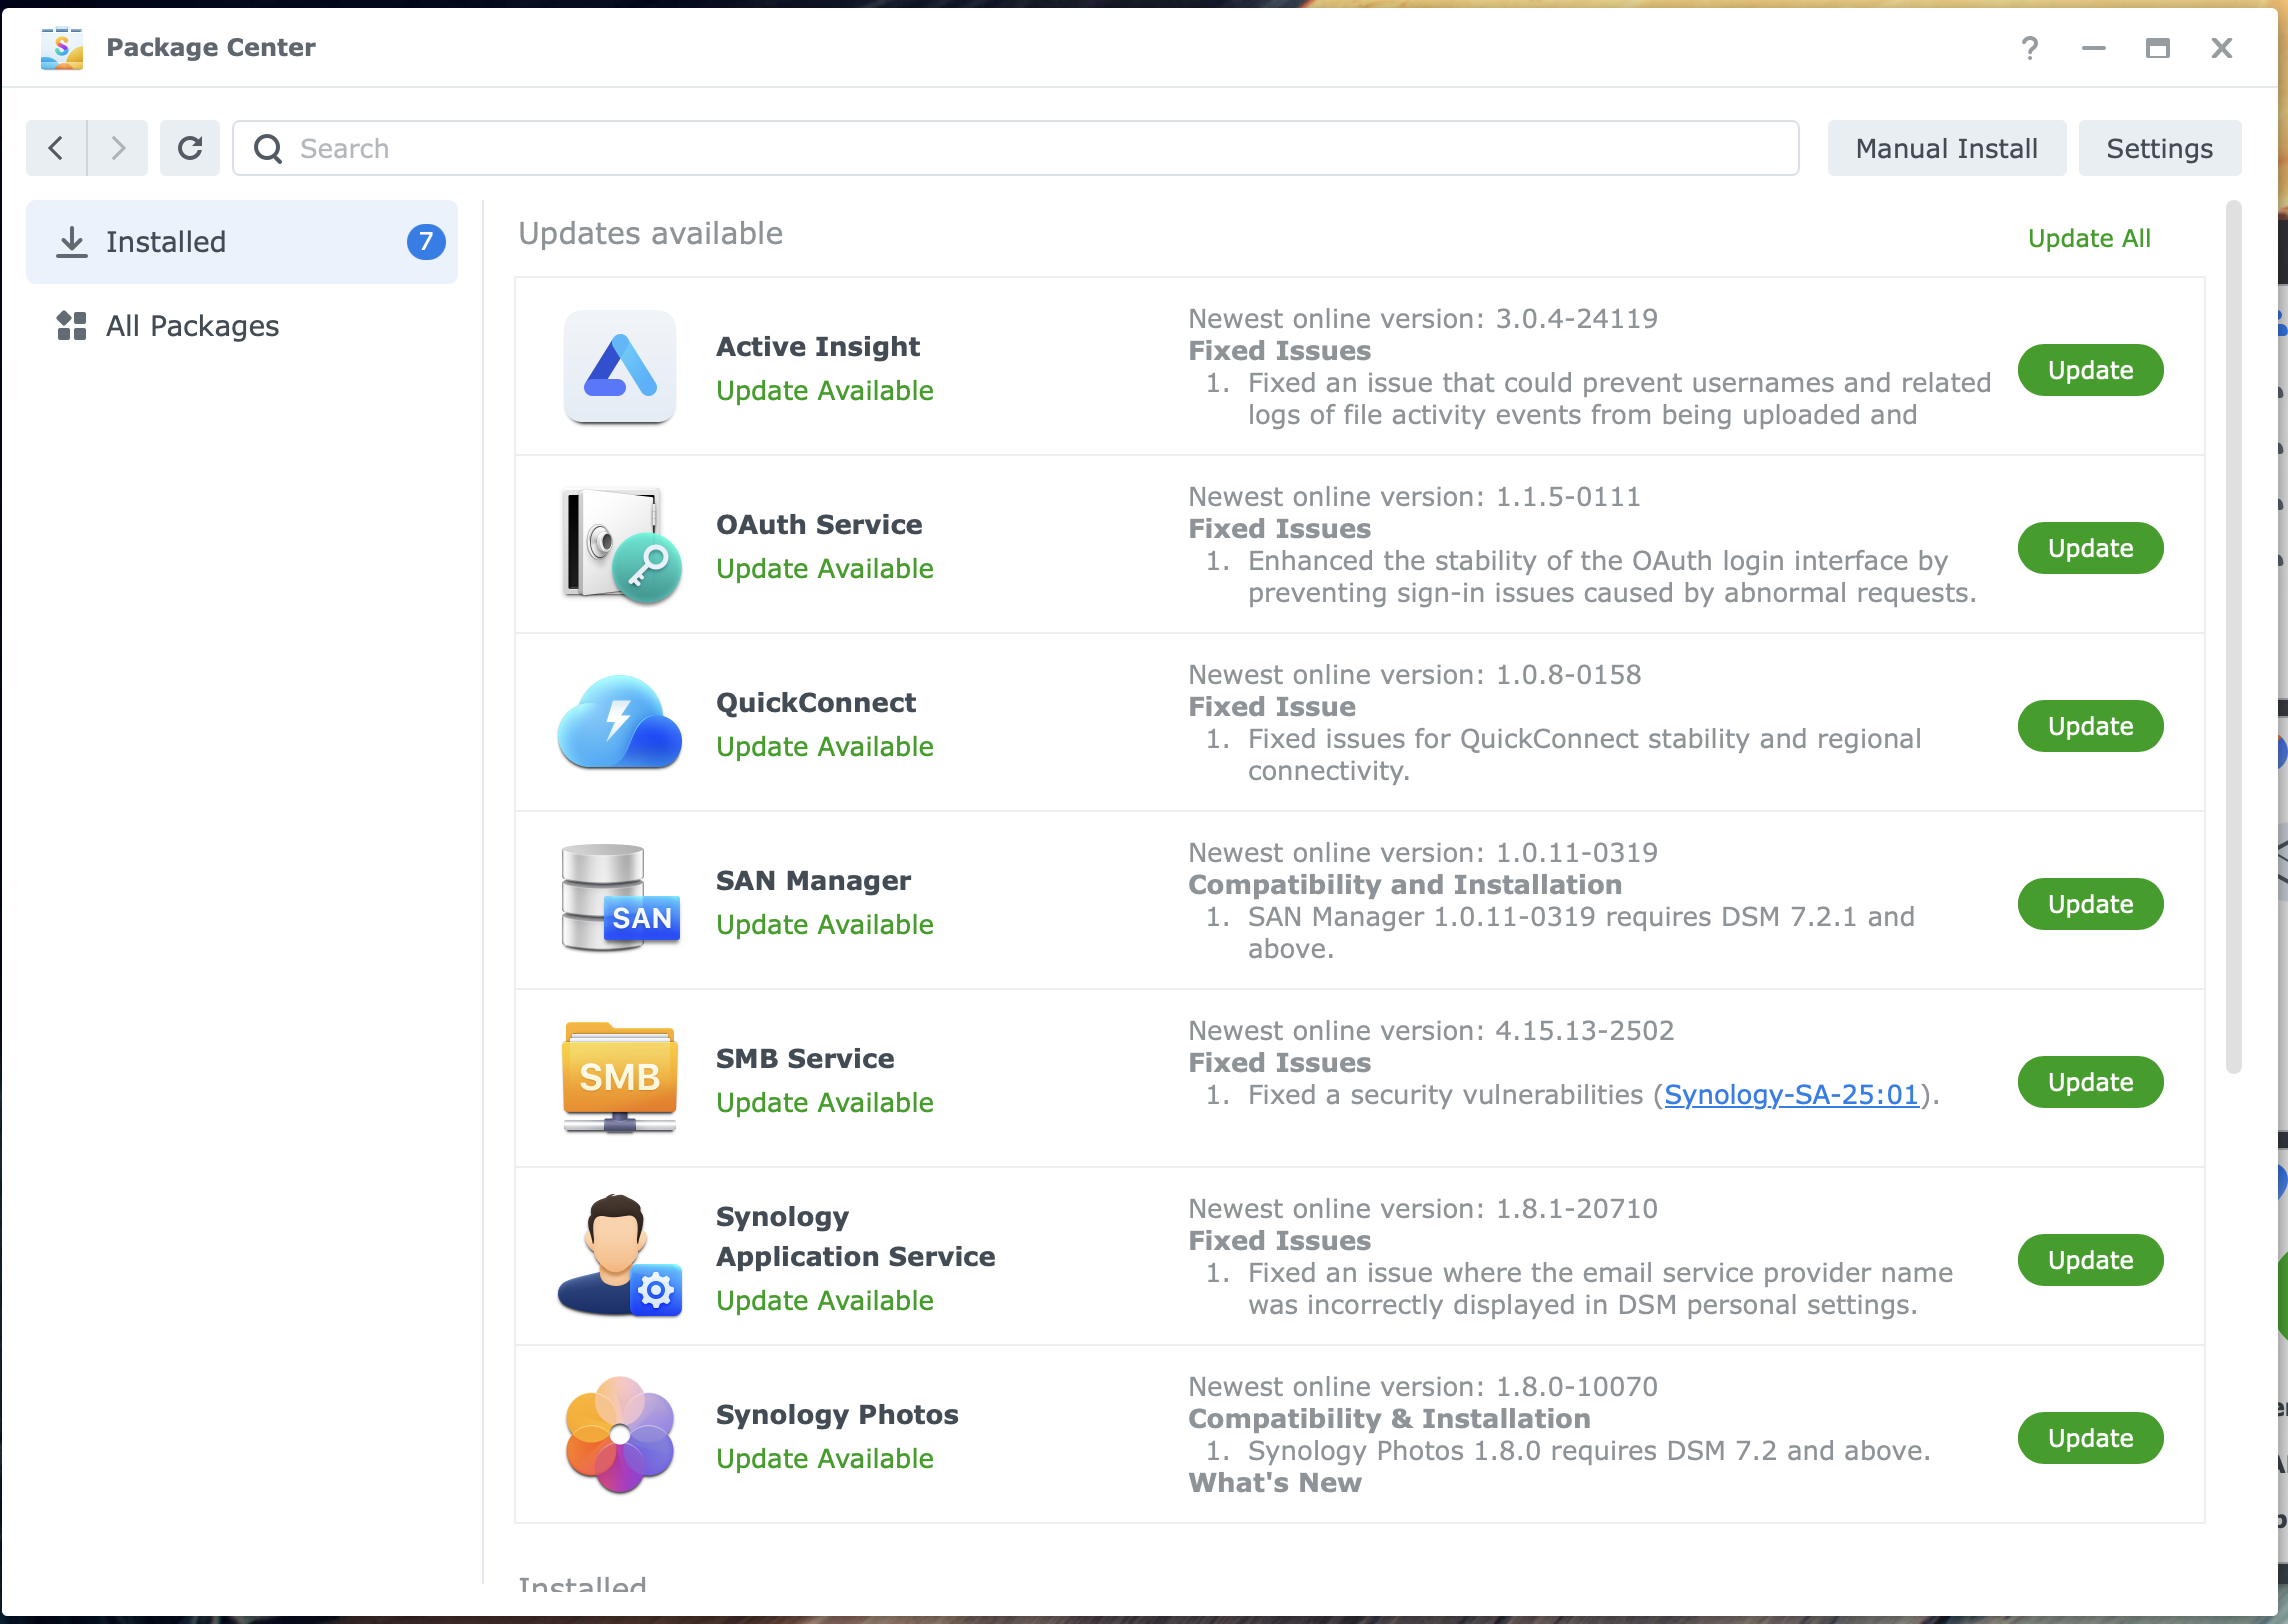
Synology is pretty regular in providing updates to their DSM as well as the apps. When you get a notification for the update, just log in as an admin, open the package center and run the Update All command.
In the following weeks, I shall be publishing some additional articles that enable to maximize the value you get from your Synology…

Leave a comment