Six weeks into social distancing due to the pandemic I had to do something… anything, to get my mind off the roller coaster of good and bad news that was streaming into our lives. Walking around the house evaluating things that could be upgraded or fixed, I remembered that I had wanted to upgrade the HDD on my iMac for a while now, but was not brave enough to take it apart.
Side Note: I love Apple products, but one of the things that drives me nuts is that they are so skimpy on RAM and HDD. Maybe they have done a market survey and found out that most people do not need more than the 4-8GB RAM and a 512 GB HDD. To be honest it seemed to be adequate for me for many years too, till it didnt! I did upgrade the iMac’s RAM to the max a few years back, and that was really trivial. HDD a completely different story.
Step 0: Prework
After watching a few videos and reading a bunch of articles, I settled on the upgrade kit from OWC, a Rosewill 2.5″-3.5″ SATA-IDE to USB kit from Newegg and SuperDuper.
Step 1: Clone the iMac HDD
Using SuperDuper (installed on the iMac) and the Rosewill USB kit, I cloned the 500GB internal iMac HDD to the 2TB hybrid Seagate HDD that came with the OWC kit.

SuperDuper is … super easy to use. Connect your new HDD via USB to the iMac. Launch SuperDuper. Define your source and destination, and let it run. I let this run overnight and in the morning, the drive was ready for me.

To ensure that the process was successful, I booted the iMac into my external USB HDD. This is accomplished by holding the option key while booting up and selecting the 2TB HDD. The 2TB USB HDD booted up fine. I verified that the HDD showed the correct size, and the machine worked properly.
Step 2: Remove HDD
This is the tough part… or so I thought! To begin with I laid out all the components on a clean table, with the iPad beside me, so I could watch the OWC video. I used a couple of new and clean posterboards for my dust free/clean surface.

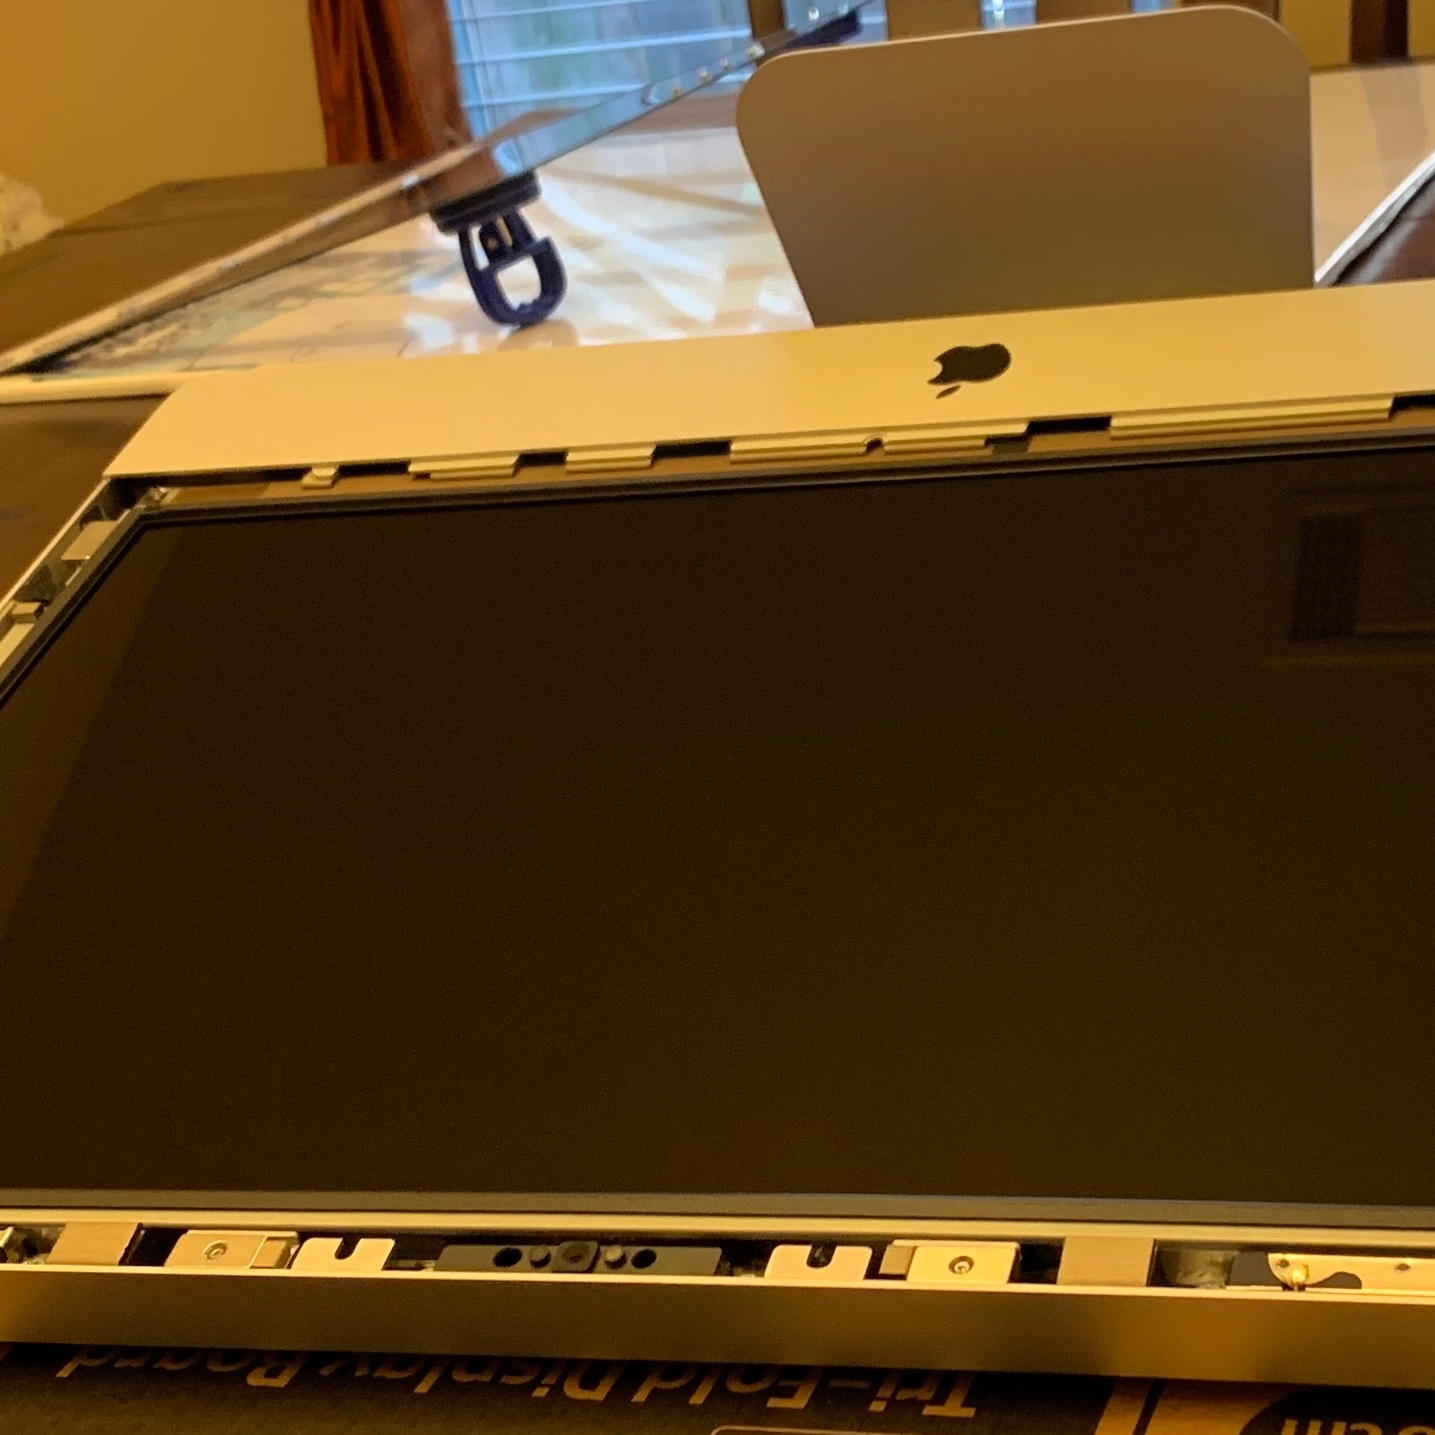
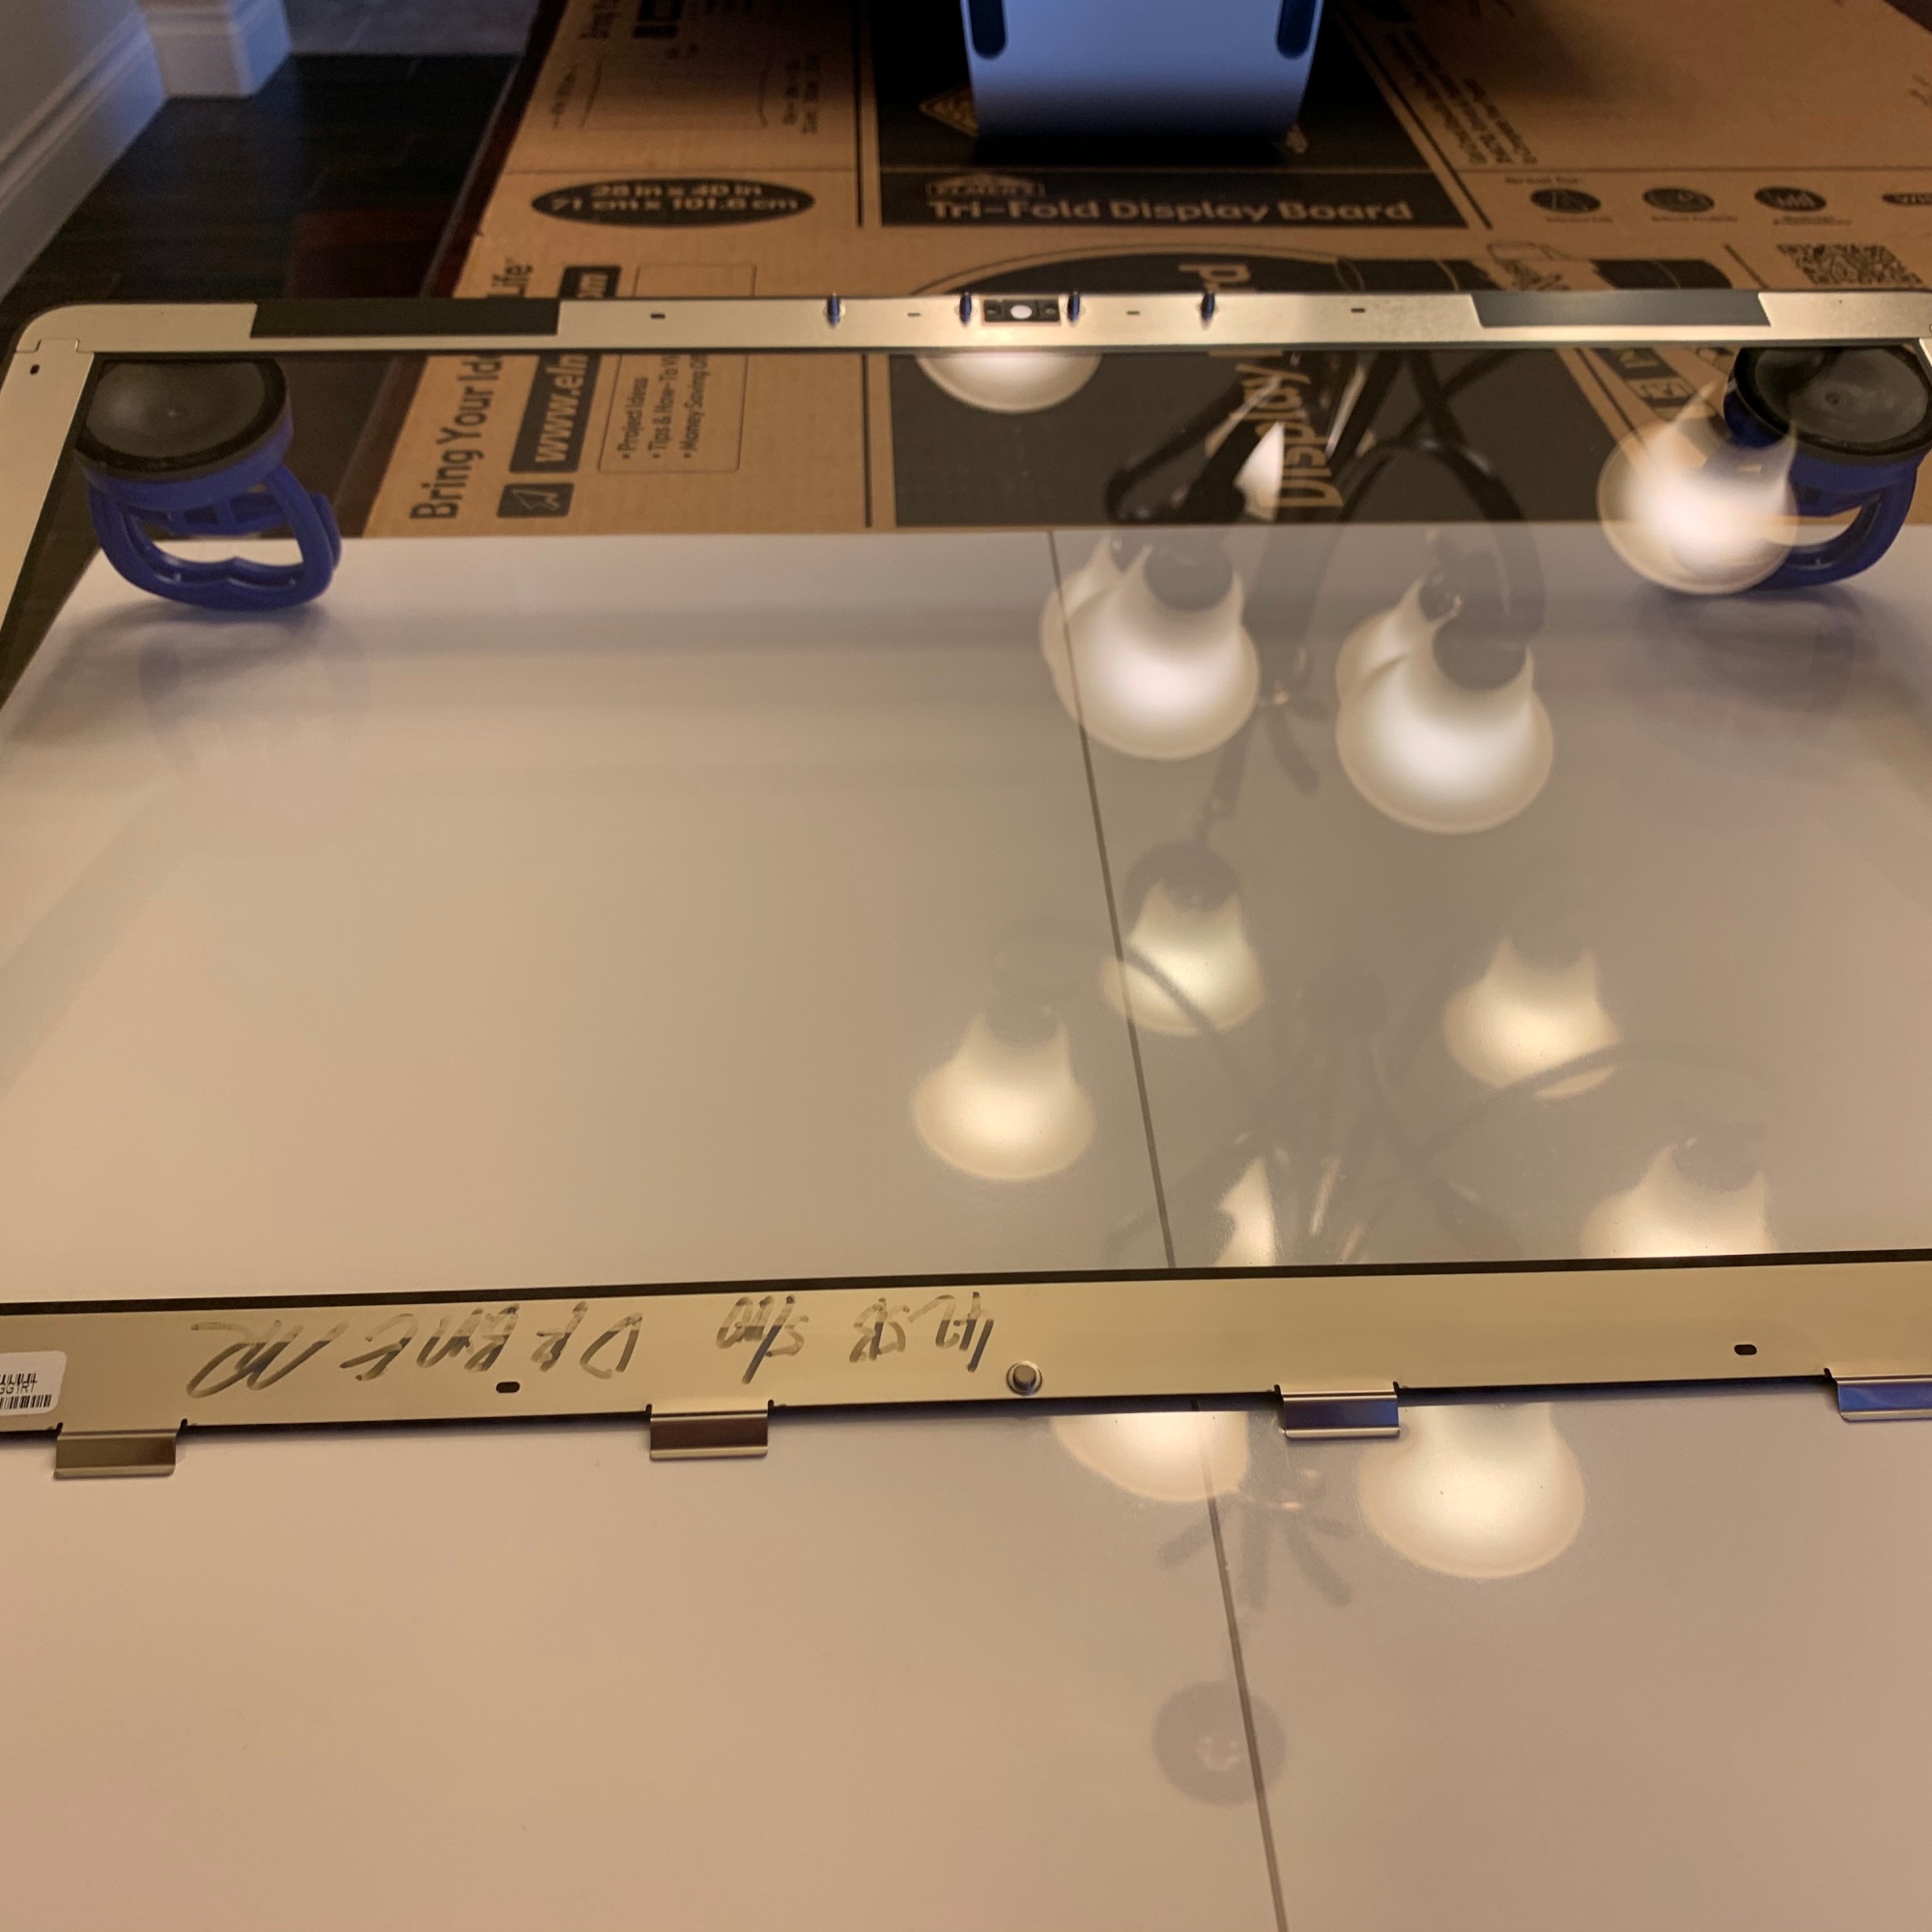
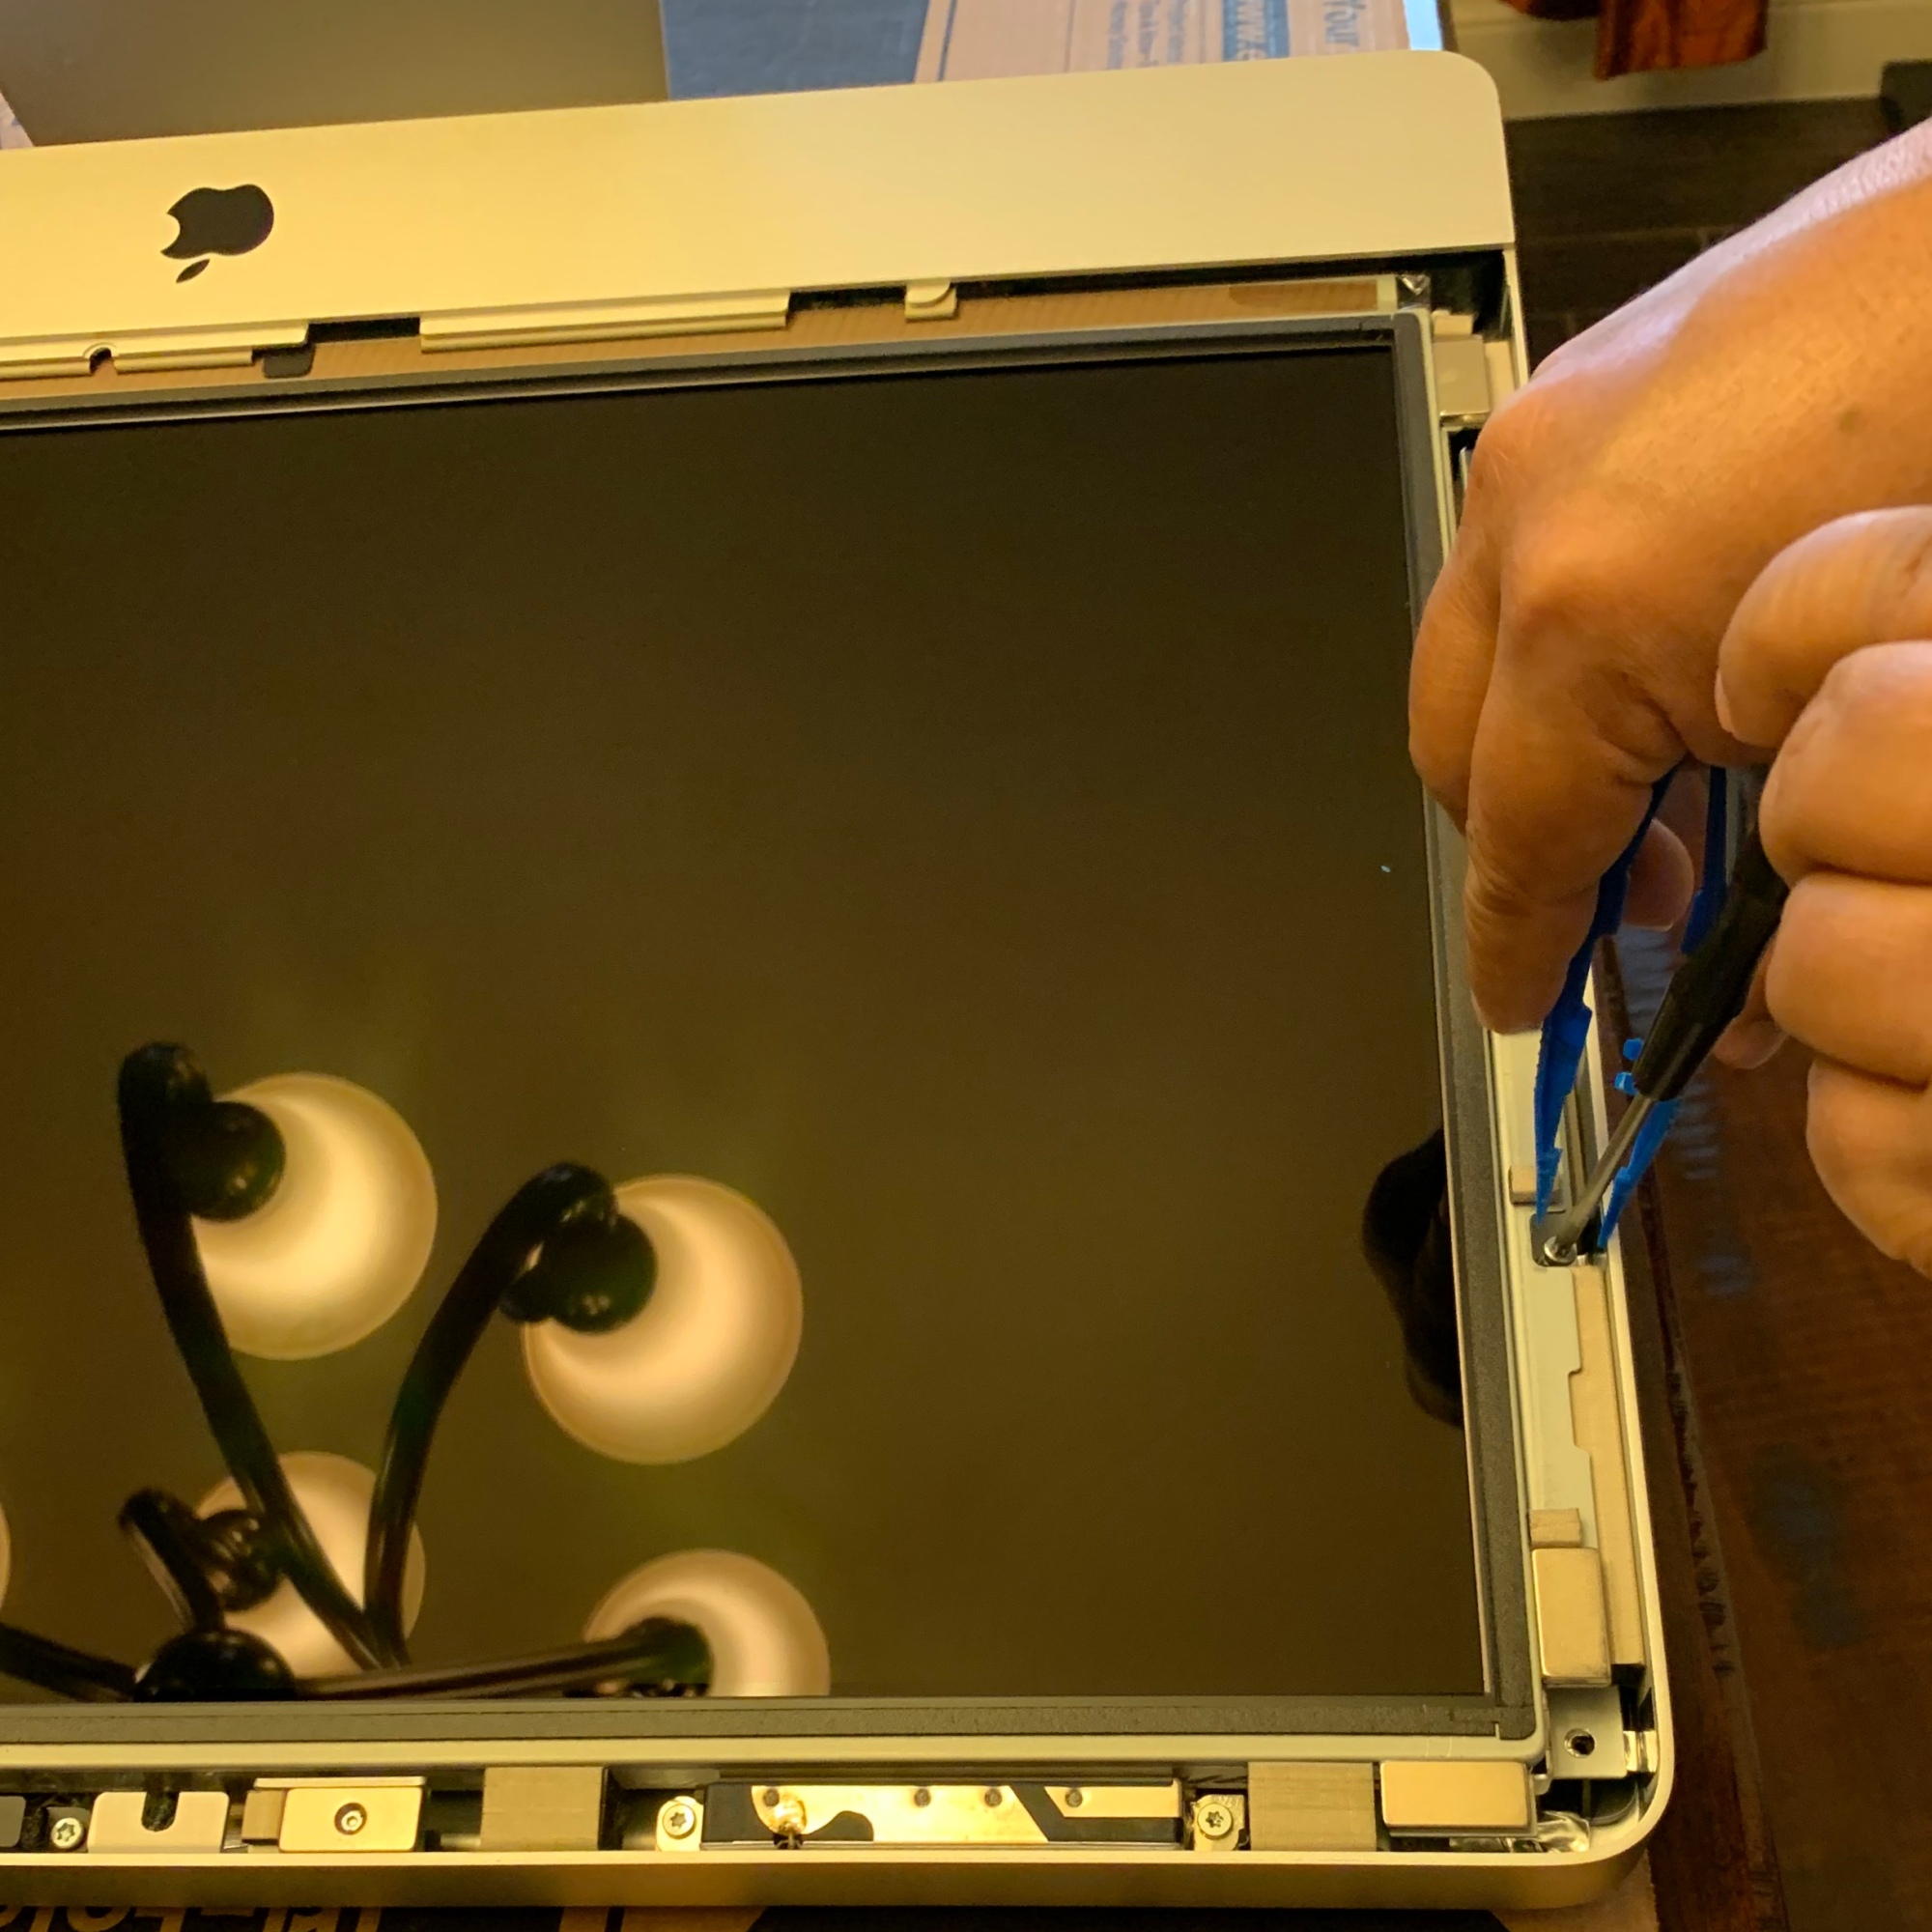
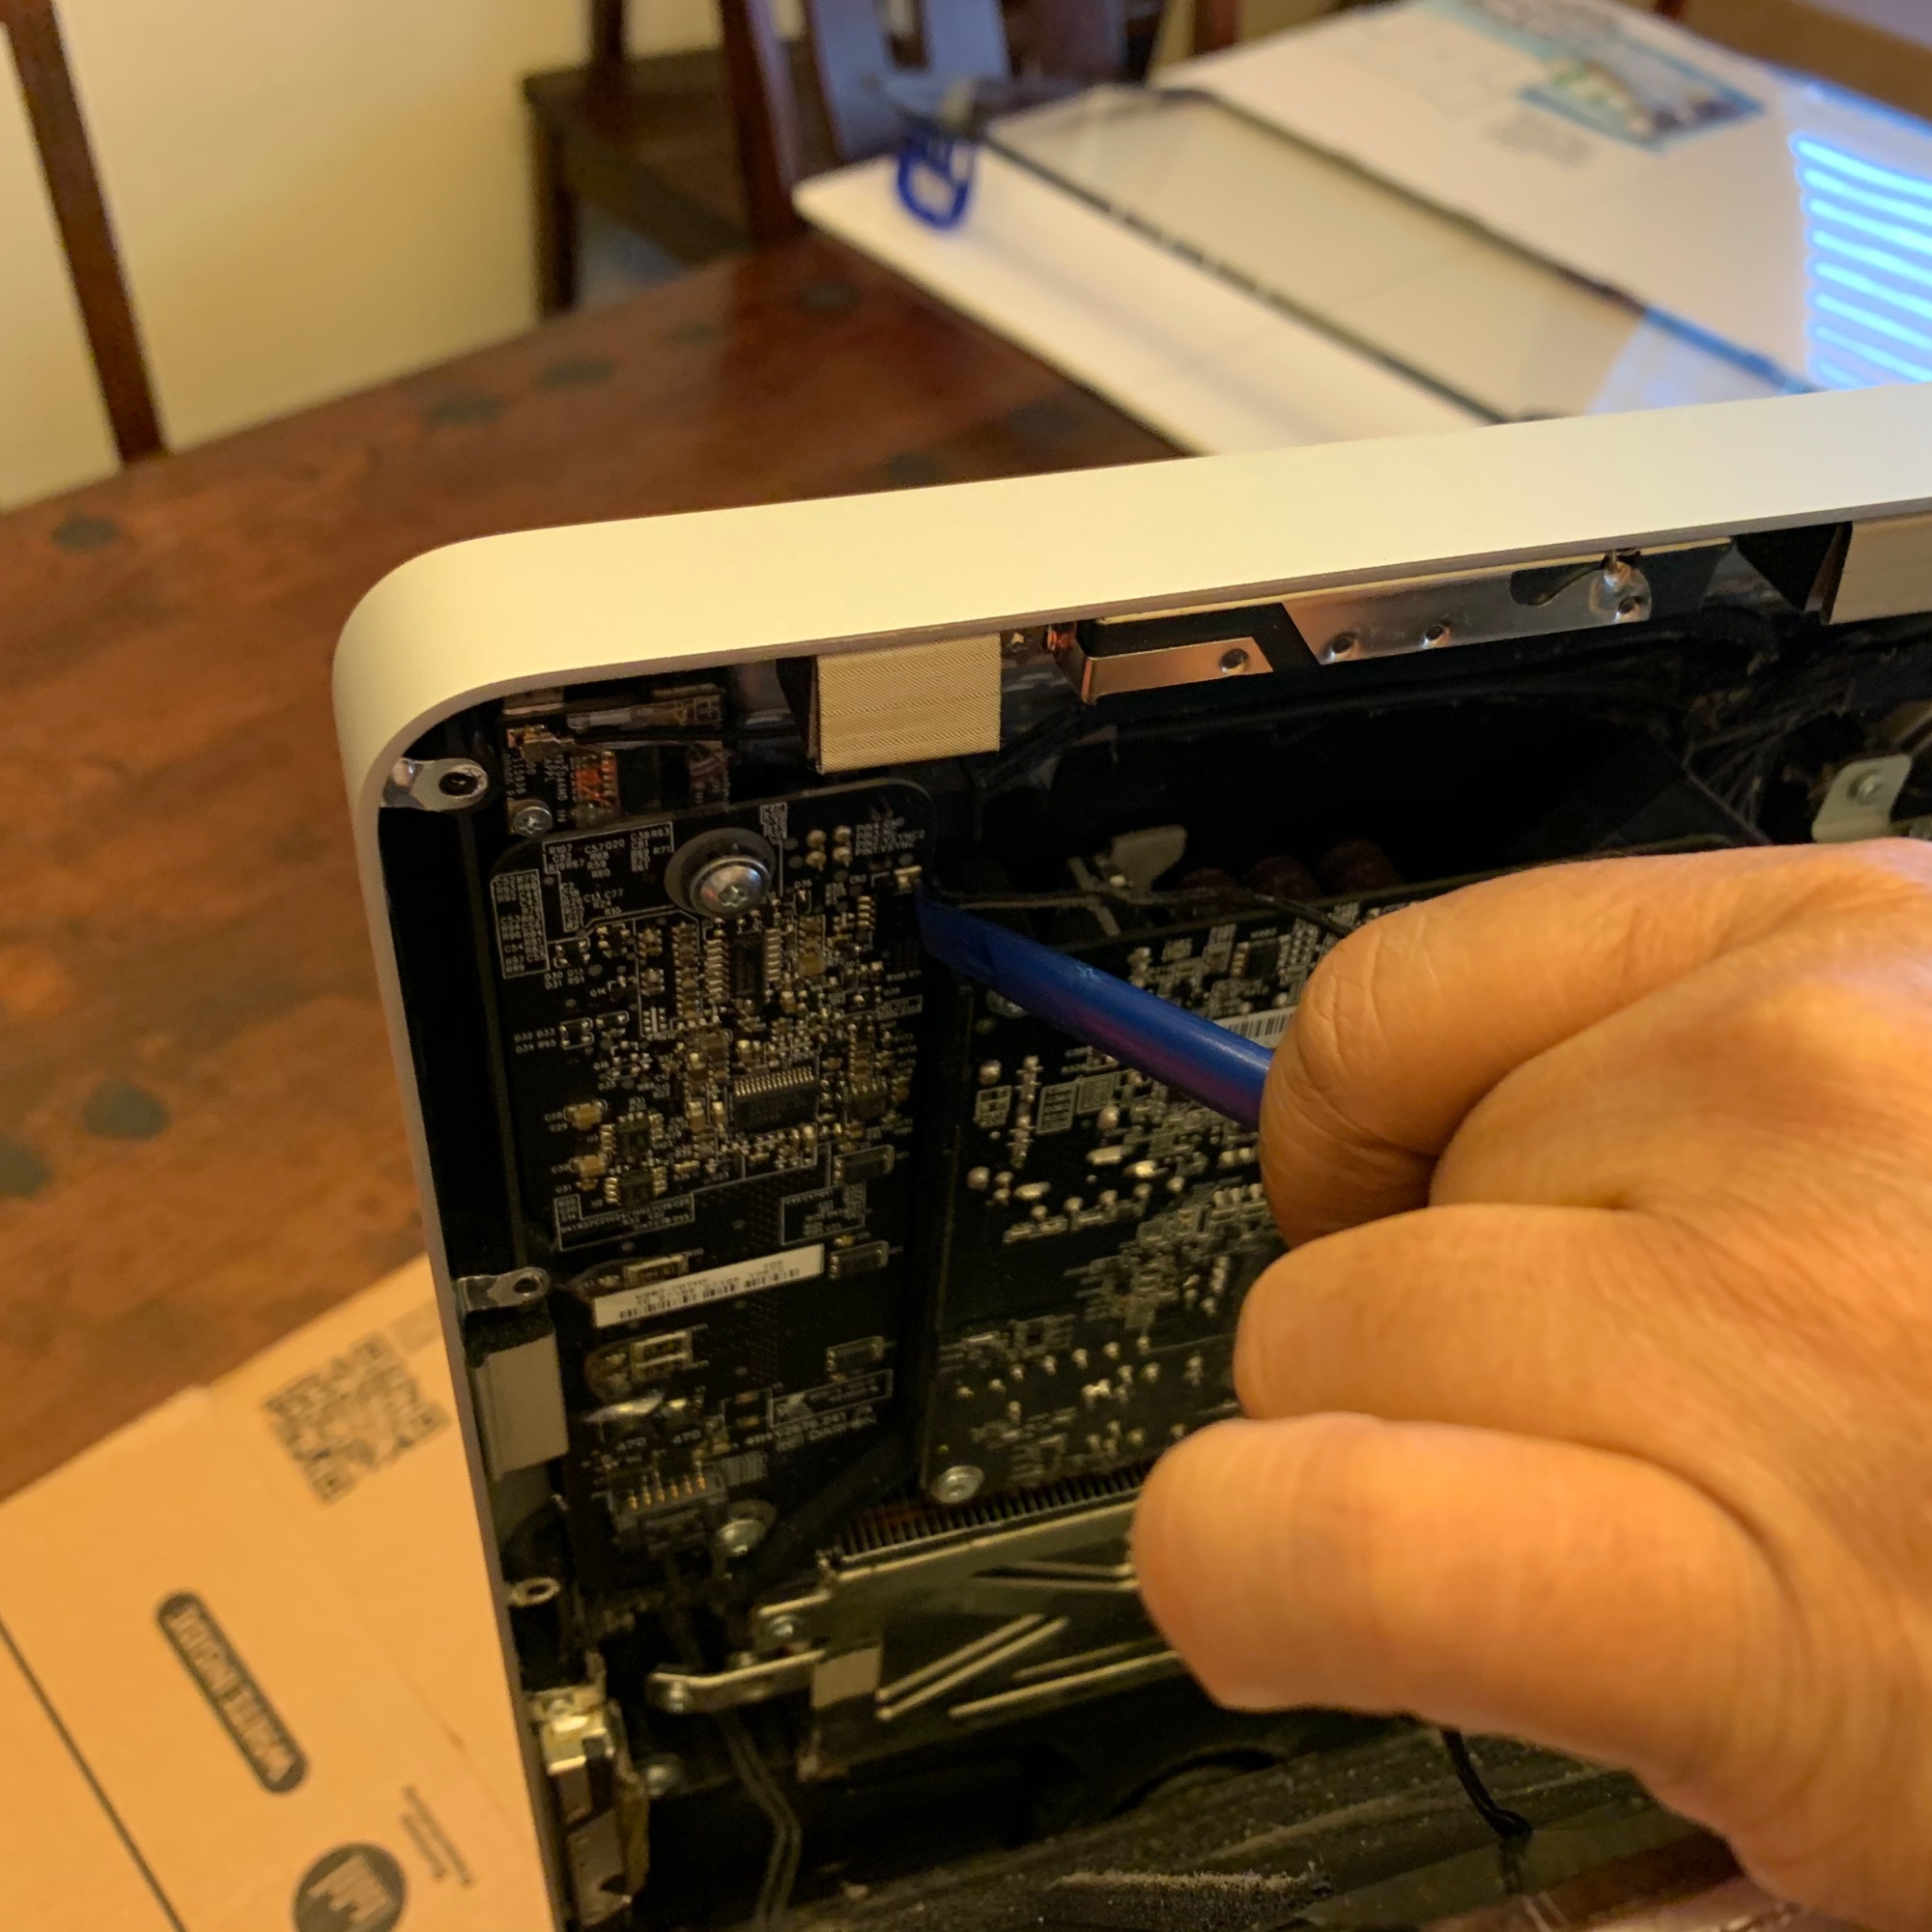
I started with my monitor upright and using the suction cups, detached the glass and lay it flat on the posterboard. Then methodically, I removed the 8 screws, pulled the screen forward and carefully removed the 4 cables to detach the screen. I then placed the screen next to the glass on the poster board. Finally (for this step) I unscrewed the existing HDD, detached the cables and set it aside. Nine years of usage resulted in some dust accumulation on the inside of the iMac, as well as on the screen and the glass. Using the provided cloth, I carefully cleaned out the dust. Stretching it a bit further, using a hand held vacuum, I sucked up some of the dust around the fan. Be careful doing this, as you could easily short a component or two if you dont do it carefully.


Step 3: Replacing the HDD
Once everythng was satisfactorily cleaned, it was time to put everything back agai. Connecting the OWC cables and tucking it in turned out to be a bit challenging, but it was not too bad. It took me a couple of minutes to get it all snug and fit. Once this was done, I attached the thermal sensor, cleaned the screen, screwed it back on and finally, cleaned the glass and snapped it into place.


I gave it a few minutes, and then booted up my machine. Success!!! I now had 2TB of HDD, not the measly 500GB that I had almost run out of earlier! Im going to leave the machine up and running for a couple of days and run some tasks on it to stress test it and make sure all is well.

That was fun!!! Now on to my next project. What might that be 🙂
Links:
OWC Kit: https://eshop.macsales.com/item/OWC/YIMAC11Y2.0/
Newegg: https://www.newegg.com/rosewill-rcuc-18001-usb-to-ide-sata/p/N82E16812119916
SuperDuper: https://www.shirt-pocket.com/SuperDuper/SuperDuperDescription.html
