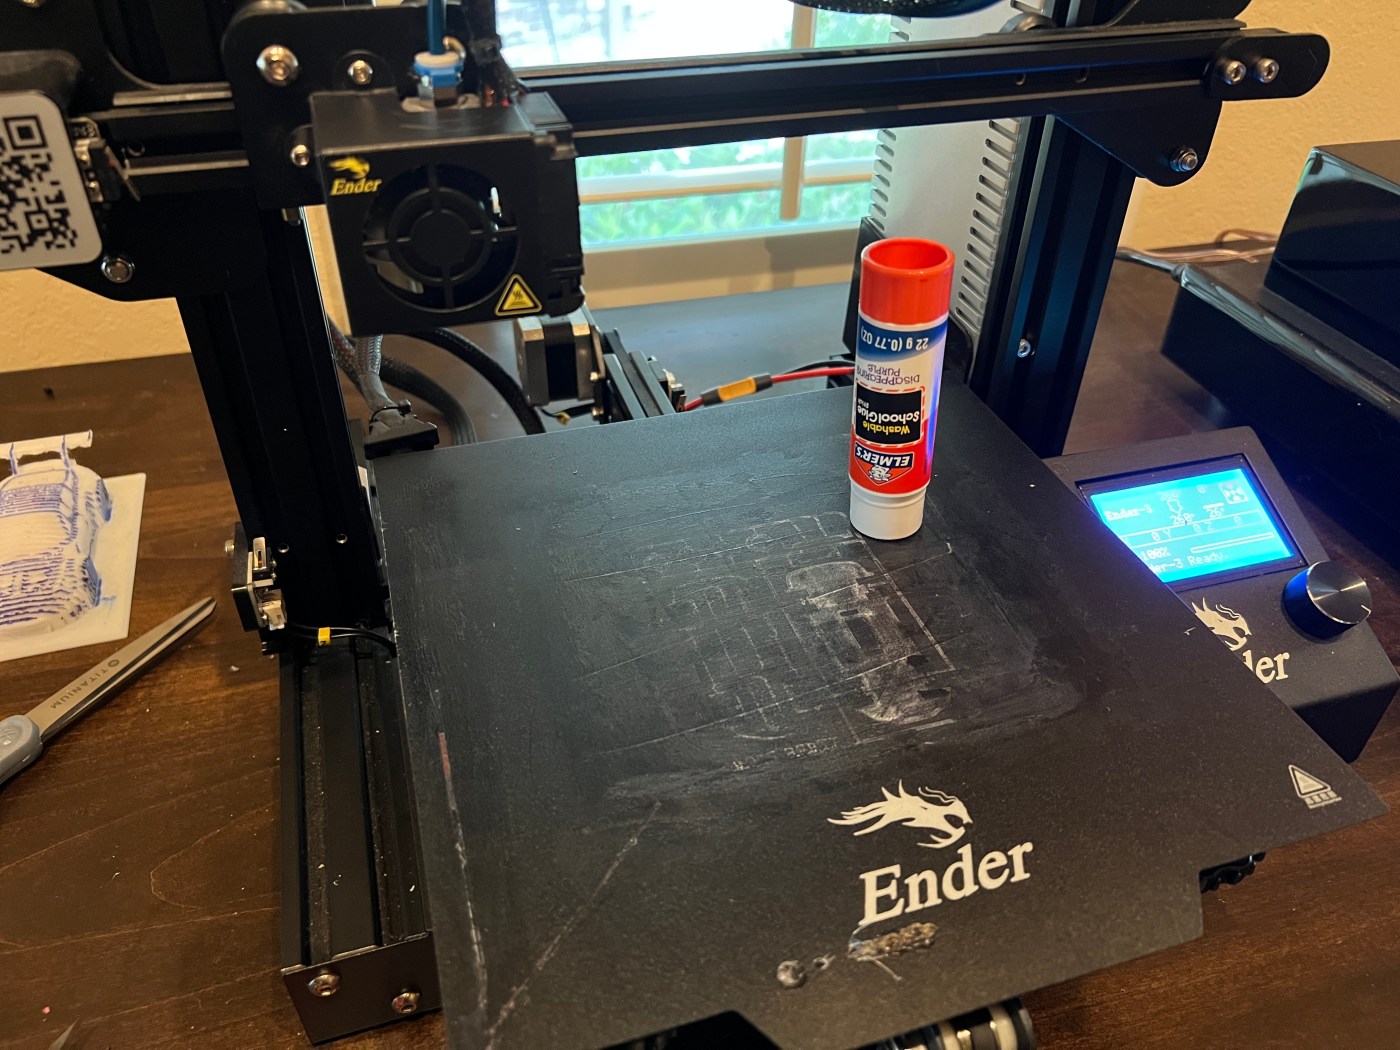
The Ender 3D is an amazing beginner, printer, and should teach you lots of things about the basics of 3-D printing. But after multiple failed attempts on our Ender 3-D printer, we basically gave up on it, and it was lying, unused. Talking to my colleagues about 3D printing, suddenly gave me the motivation to see if I could figure out how to get it to print reliably.
With that, I first got a quick getting started from my son, and then started going down the rabbit hole of the issues we were facing on the printer and how, using the advice from the Internet, I could go about fixing the issues and getting it to consistently print at high-quality.
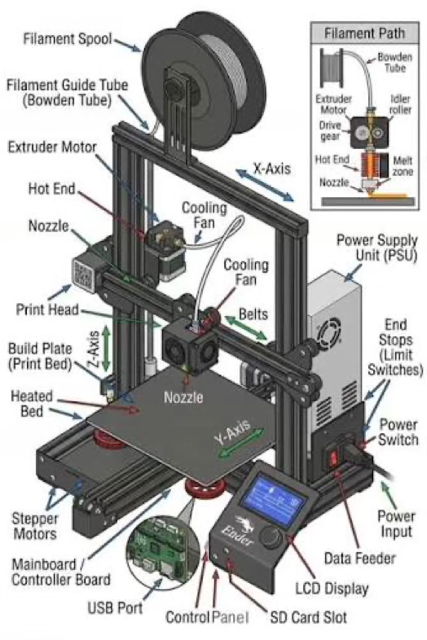
After spending many hours, trying to tweak various settings on the printer here are some fixes I have ended up doing which has made the printer perform better.
GLUE
I cannot mention the number of times we printed on the Ender 3-D only to see stuff all over the place unattached to the print bed. No matter what settings we chose it just wouldn’t stay stuck! Eventually, we found out that people were using hairspray or glue as options to get the print to stay stuck on the print bed. In our case, hairspray did not work, but gentle application using a glue stick has done wonders, and has consistently ensured that the print stays stuck to the print bed during the entire process.
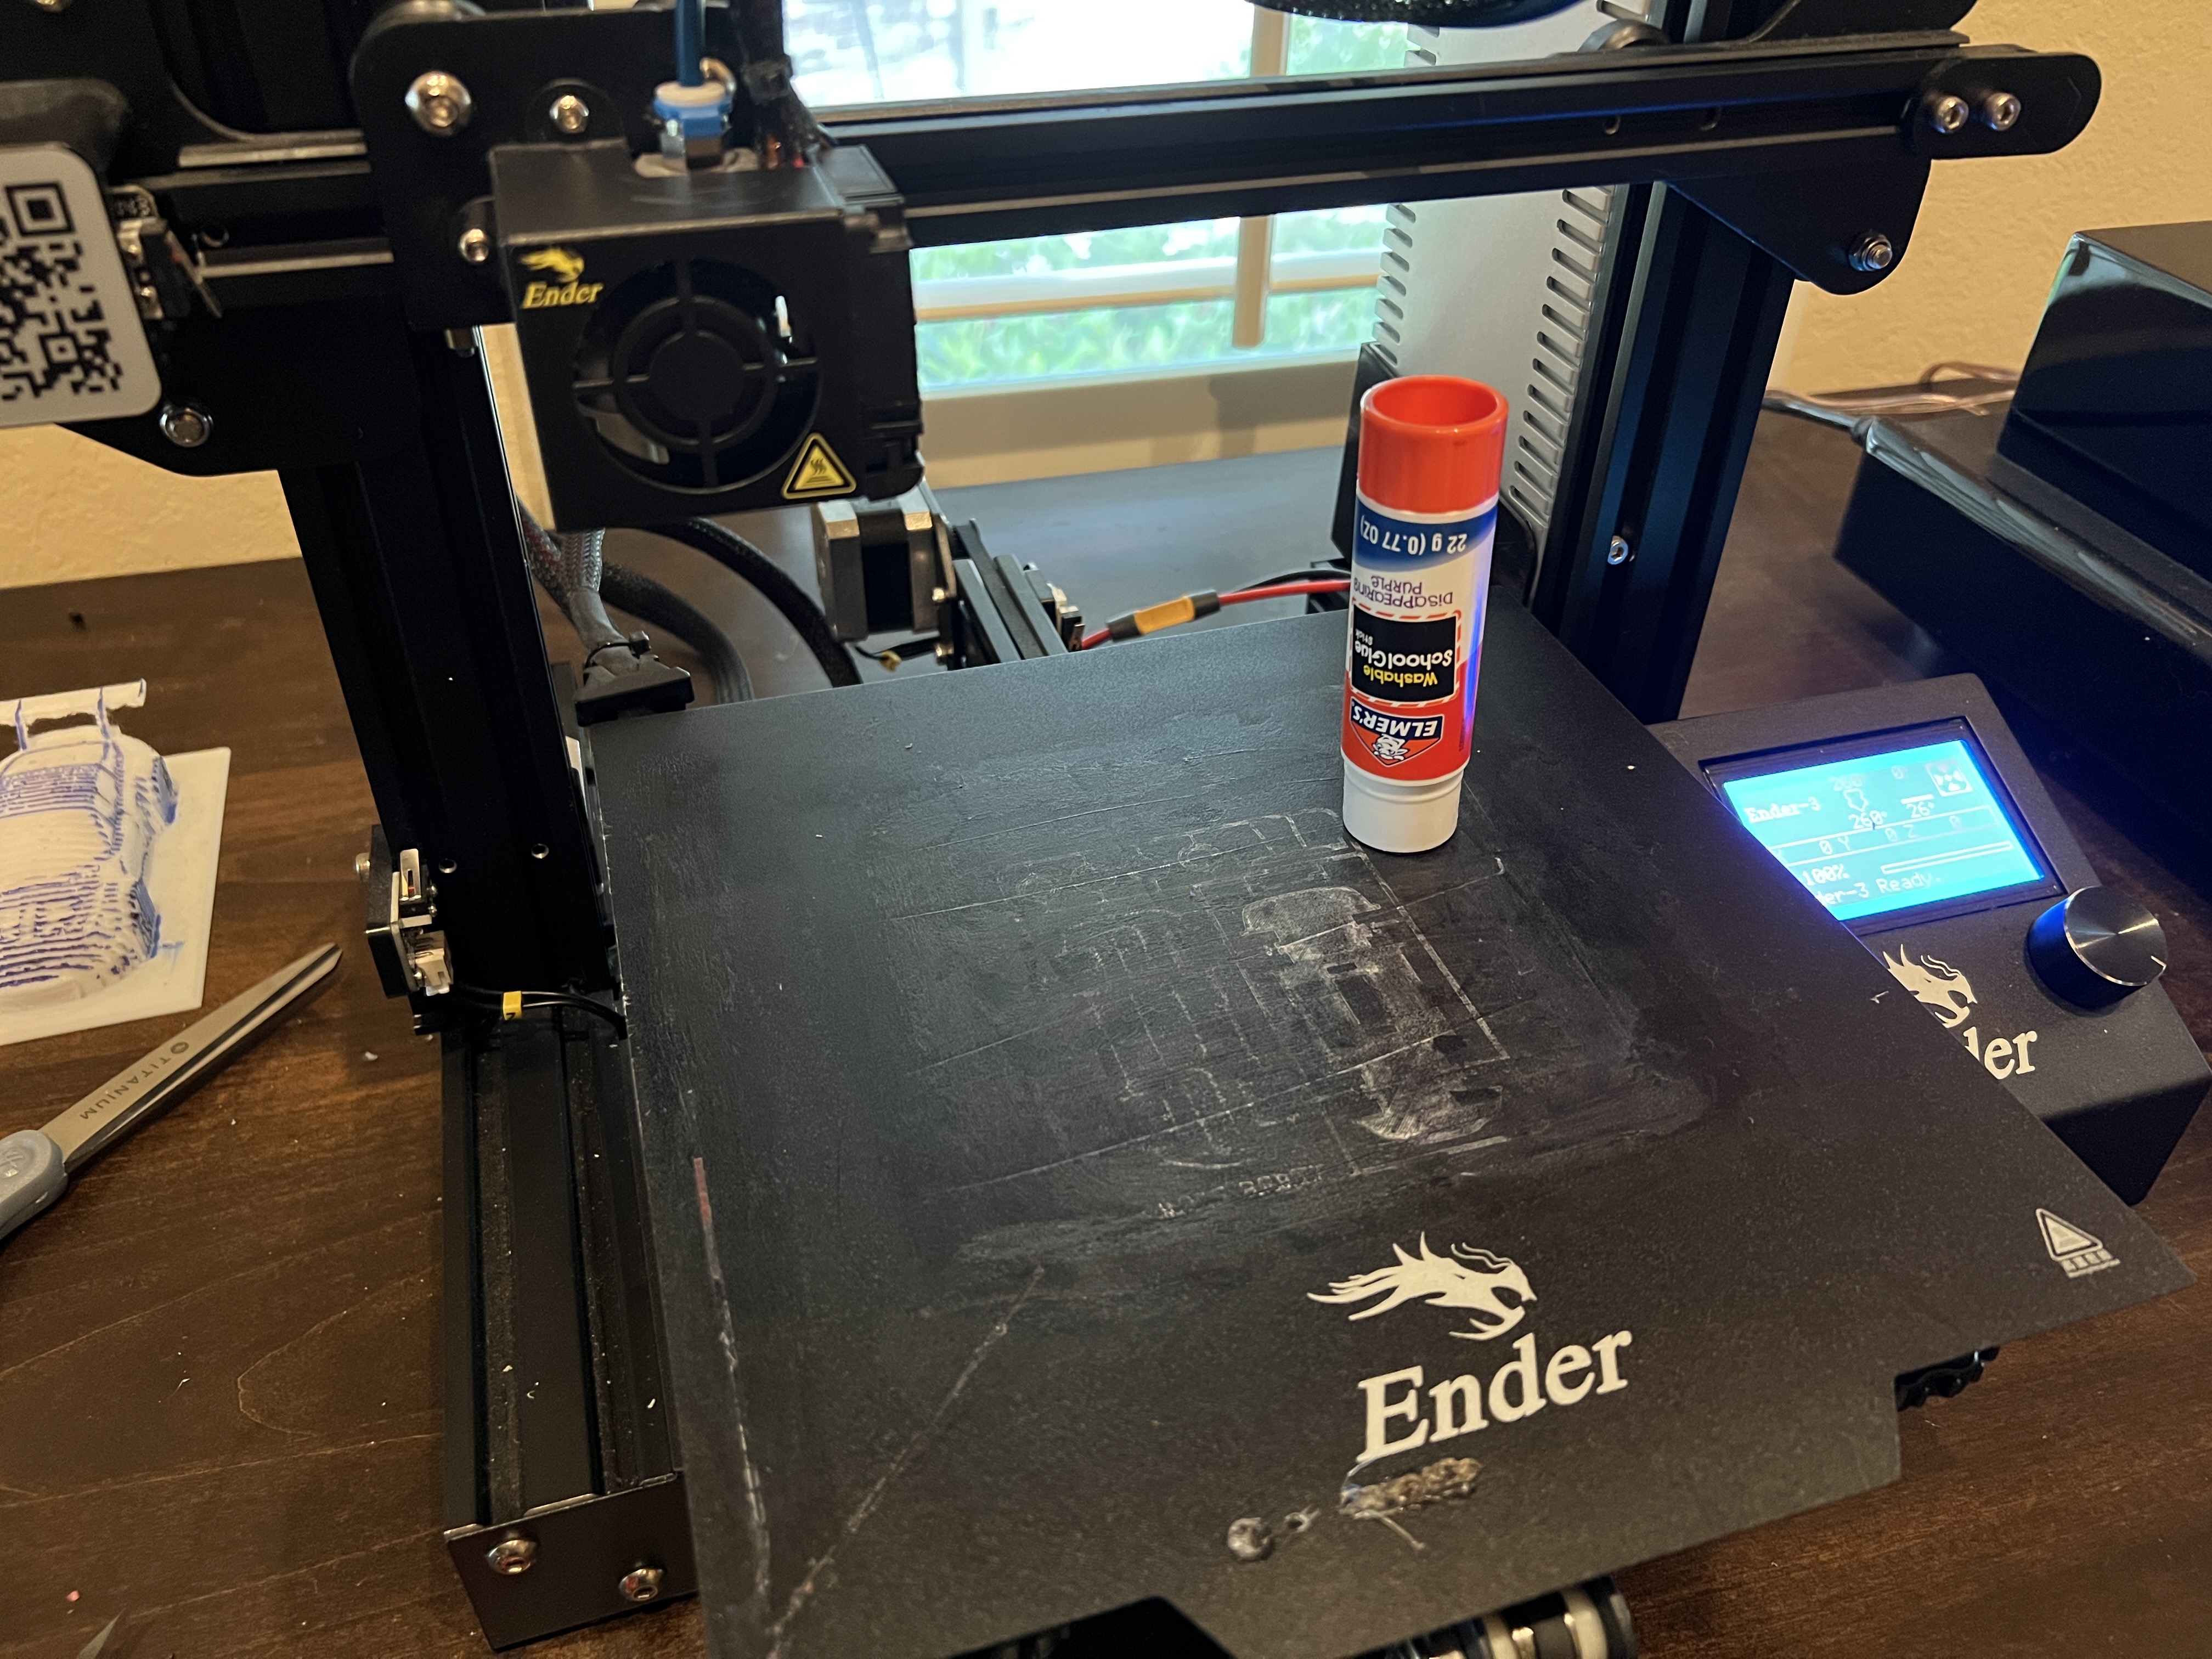
PS: After you use glue a few times, you will start seeing some residue buildup, you don’t need to buy a new print bed when this happens. Just wash the print bed under regular water and give it a good cleaning with a paper towel and the glue will go away and leave you with a print bed that is good as new.
WOBBLY PRINT BED
I hadn’t touched the print bed since install installation. I would just print things once in a while. I started noticing that there was a bit of a play or wobbliness in the print bed and started researching why that might be the case and how I could fix it. On the end 3-D on the right side there are two nuts that are eccentric and you don’t have to dismantle the whole printer. All you need to do is twist the nuts a little bit clockwise or anticlockwise as the case might be till you get to the point where the print bed is not wobbly anymore this was actually a pretty easy fix once I figured the root cause.
ALIGNING THE PRINT NOZZLE
Another one of those little things that can make or break the print is improper gap between the nozzle and the print bed. Make sure it is around a paper thickness, and the print bed is flat. I do have a existing situation here when my printer is not completely flat, but I use the four adjustment screws on the four corners of the print bed to align the nozzle. Such that at no point is the nozzle touching the print bed and that ensures that I’m not melting the print bed and there is enough clearance for the print material to flow through. Right now, I am using a two piece magnetic print pad. Seems to be doing OK.
NOZZLE CLEANING
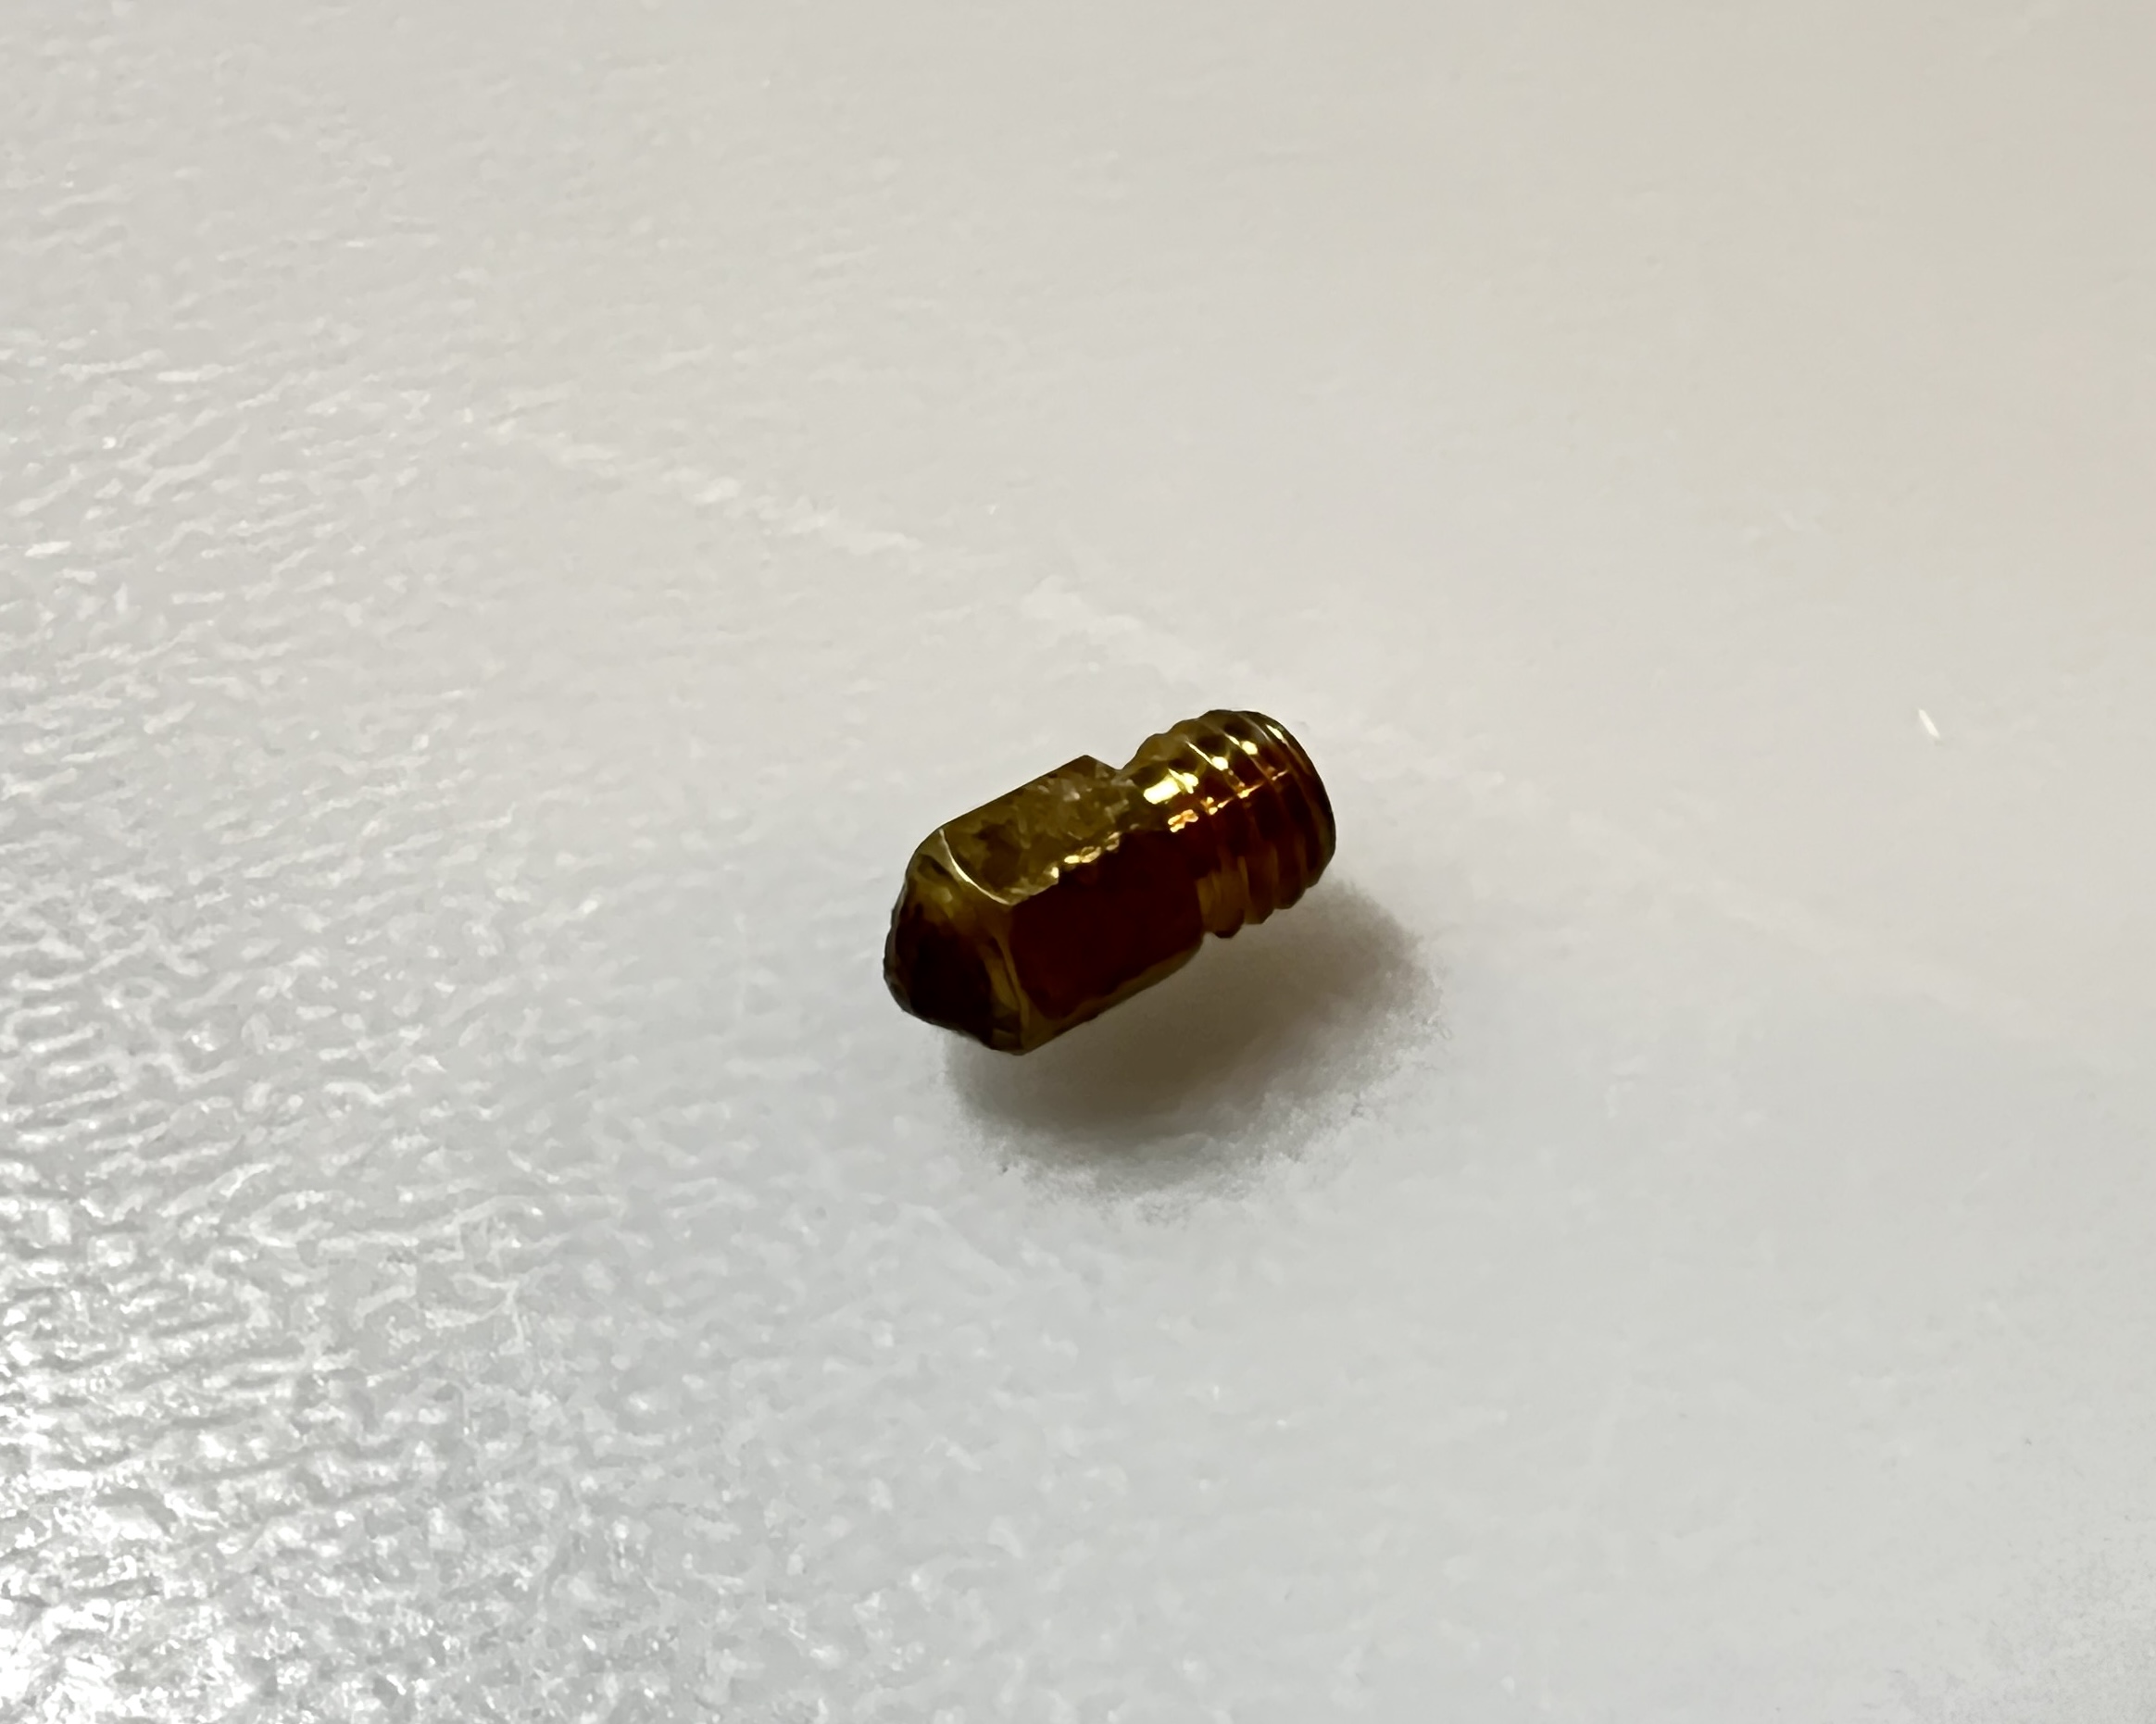
To be thorough and making sure I don’t miss anything. I gave the nozzle and the housing a thorough cleaning. Reading online it appears that we should be able to use the nozzles for a considerable amount of time without needing to replace it as long as we can squeeze the filament through it as a test it should be OK.
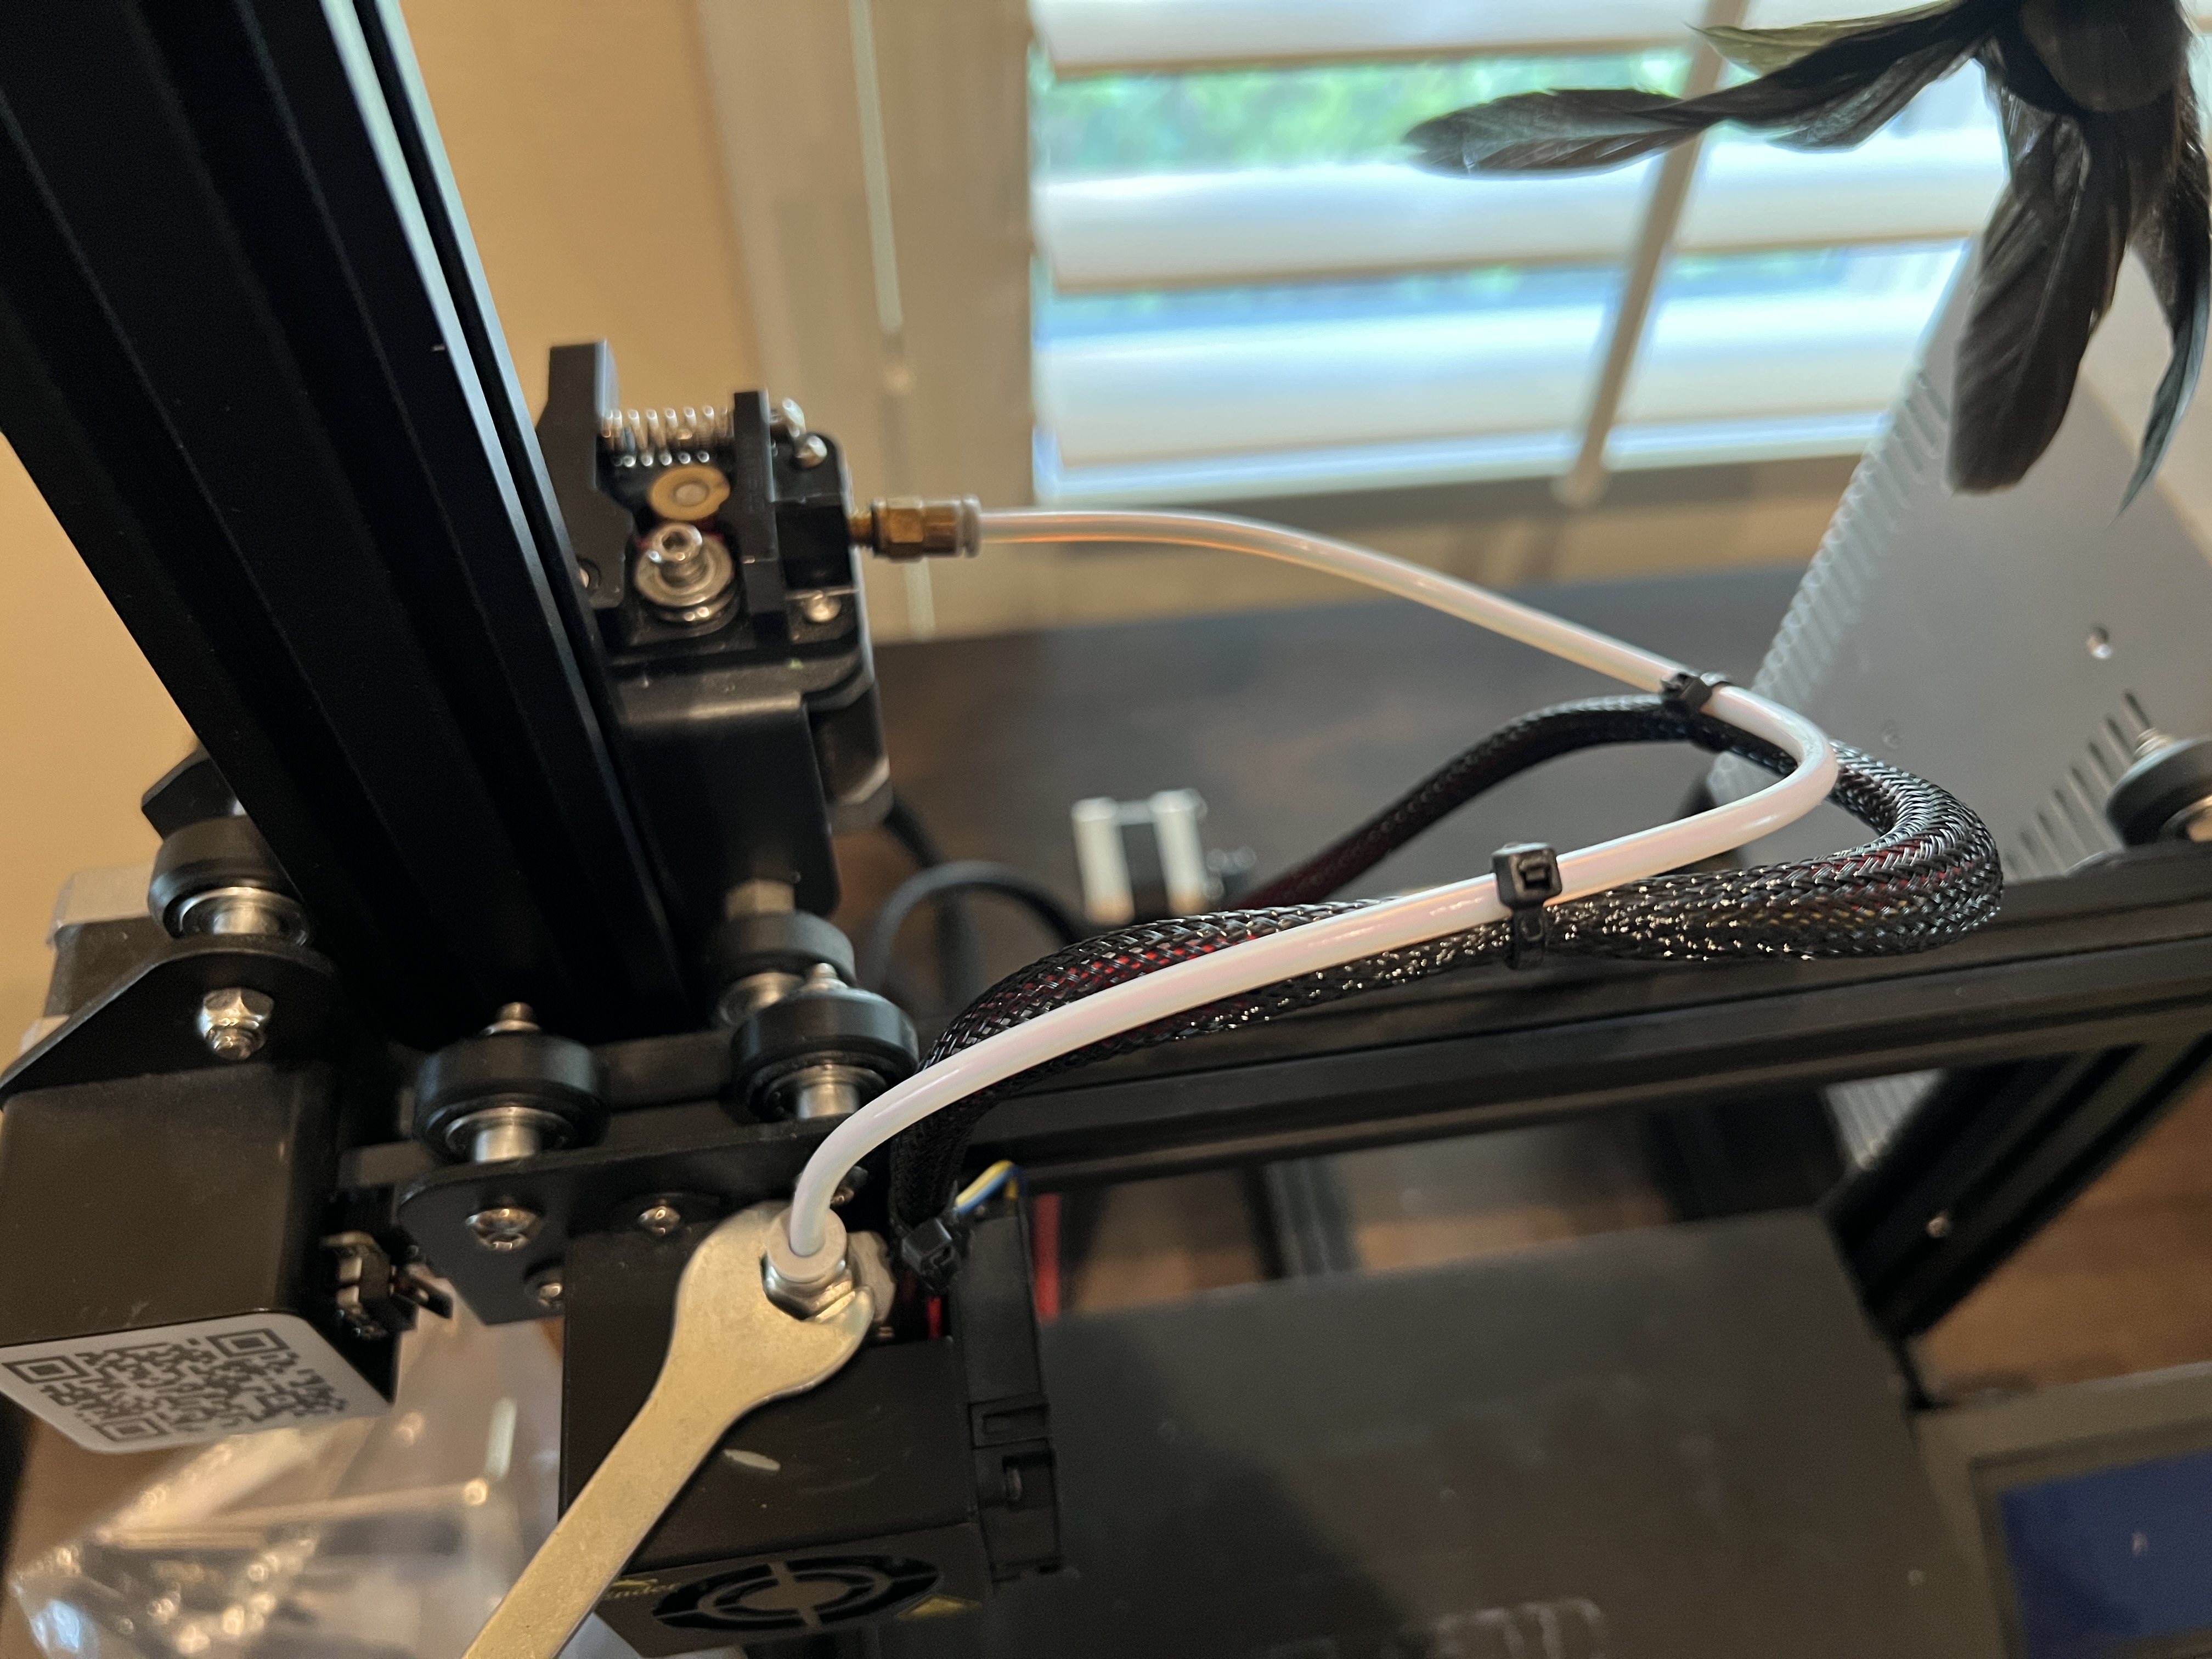
UPGRADE THE BOWDEN TUBE
This was a harder one for us to figure out. We kept running into the situation where after a certain amount of time printing, we would hear a clicking sound. The gears and the retraction mechanism would be on the fritz and the filament would get completely chewed up. We tried different build speeds, different retraction settings, and nothing seem to work. We looked online and a lot of the suggestions were not applicable.
Finally, we came across an article on the Bowden tube and that got us thinking about the physics of it. I believe what is happening is as the original Bowden tube ages, its characteristics get all weird, and at some point during the repeat retractions the tube gets blocked. This effectively prevents the material from getting pushed out. This is where the gears try to push the material to the nozzle, but the Bowden tube prevents it from going forward and as a result, the filament starts getting chewed up and you start hearing that clicking sound from the feed gears. The fix to it was to remove the couplings on the two end and replace it with a higher quality Bowden tube.
NOTE: While pushing the Bowden tube in, remember to keep the nut a turn or so lose. Once the tube is all the way in, and locked, then tighten the remainder of the nut. That will ensure a tight seal between the tube and the nozzle. There was a suggestion online to do this last part with a heated nozzle.
Here are my first couple of printouts after making the above changes. I’m going to try printing a few other things, to see if the changes have made the printer reliable. If not, it’s back to the debugging board to see what other causes there could be for repeated failed printouts.
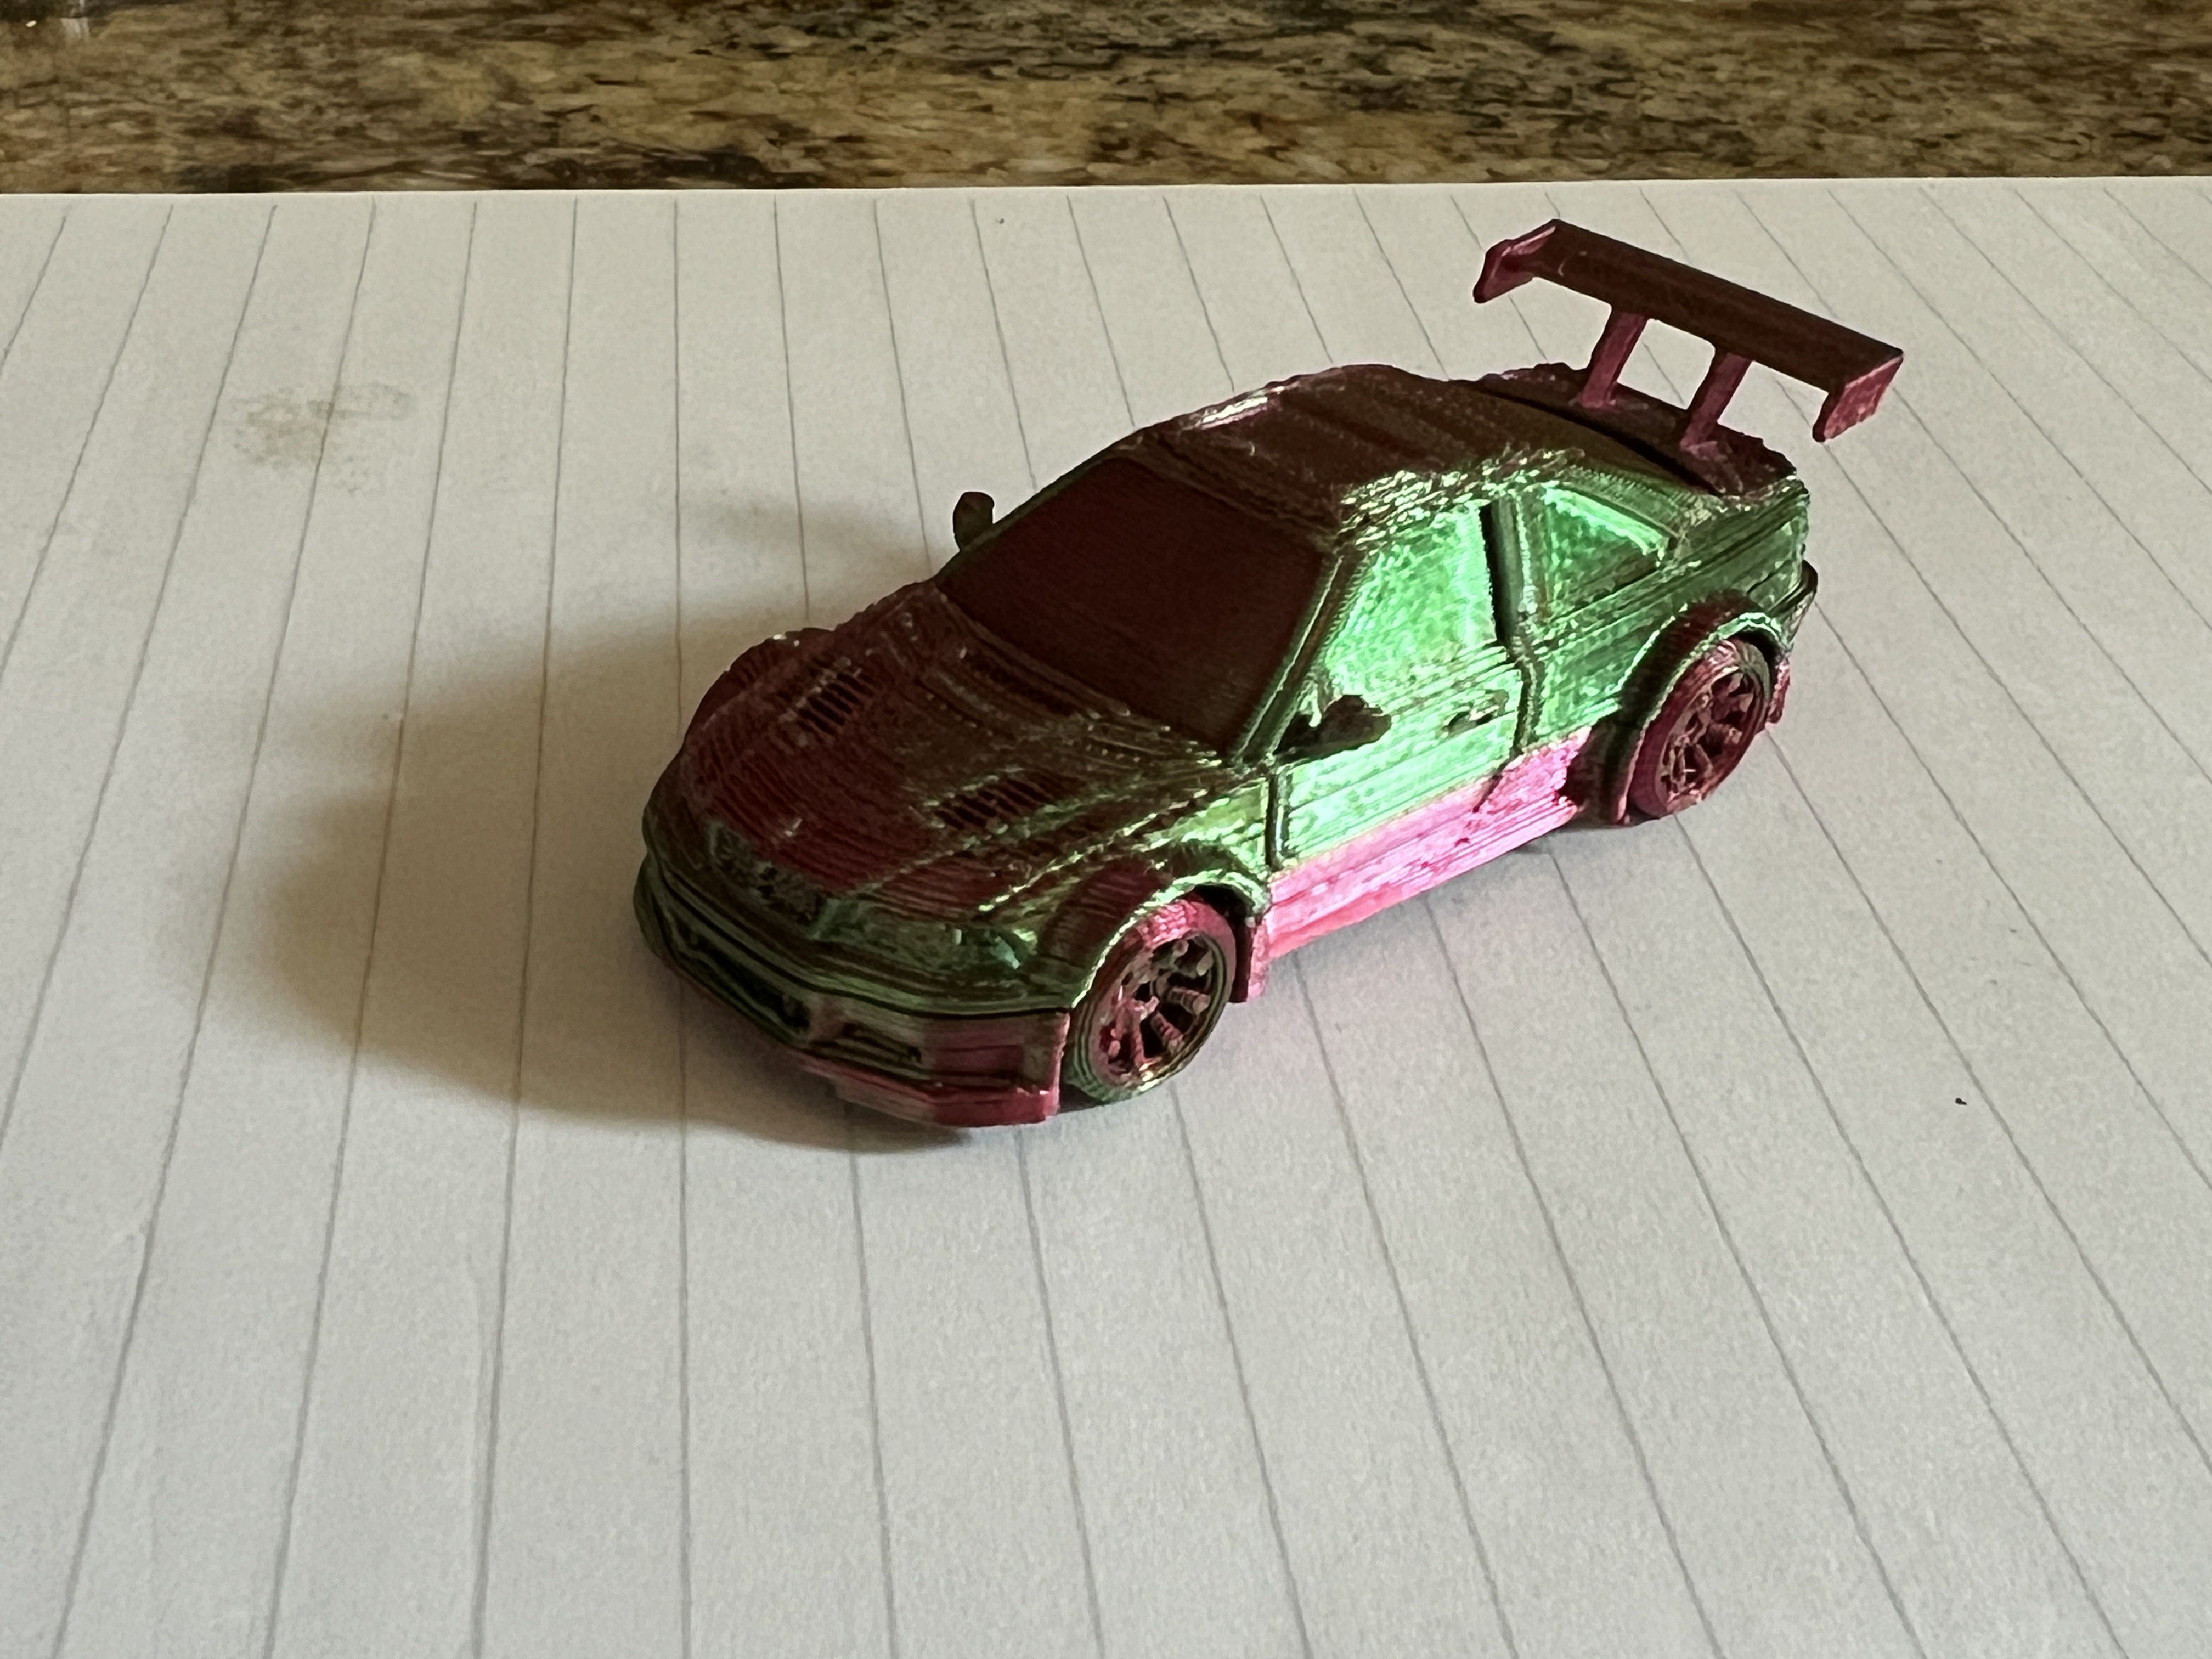

FAIL…
OK, back to the drawing board now. Not sure what’s happening here. I have glued the print bed and put in a brand new filament and it’s just not sticking. The only thing I can think of is the nozzle temperature is not right or there is some kind of a print setting that is not being done properly. Maybe a fault with the nozzle sensor causing the filament to not be heated optimally. I am going to first try a higher temperature for the print (220) and see how it goes, after that … I dont know yet… will have to search online and seeing what the problem could be.

Ok, that’s embarrassing!!! I had not properly set the distance between the nozzle and the print bed. I have gone ahead and reset it and the print is looking much better now. A bit stringy, will lower the temperature back to 200 and give it a try again.
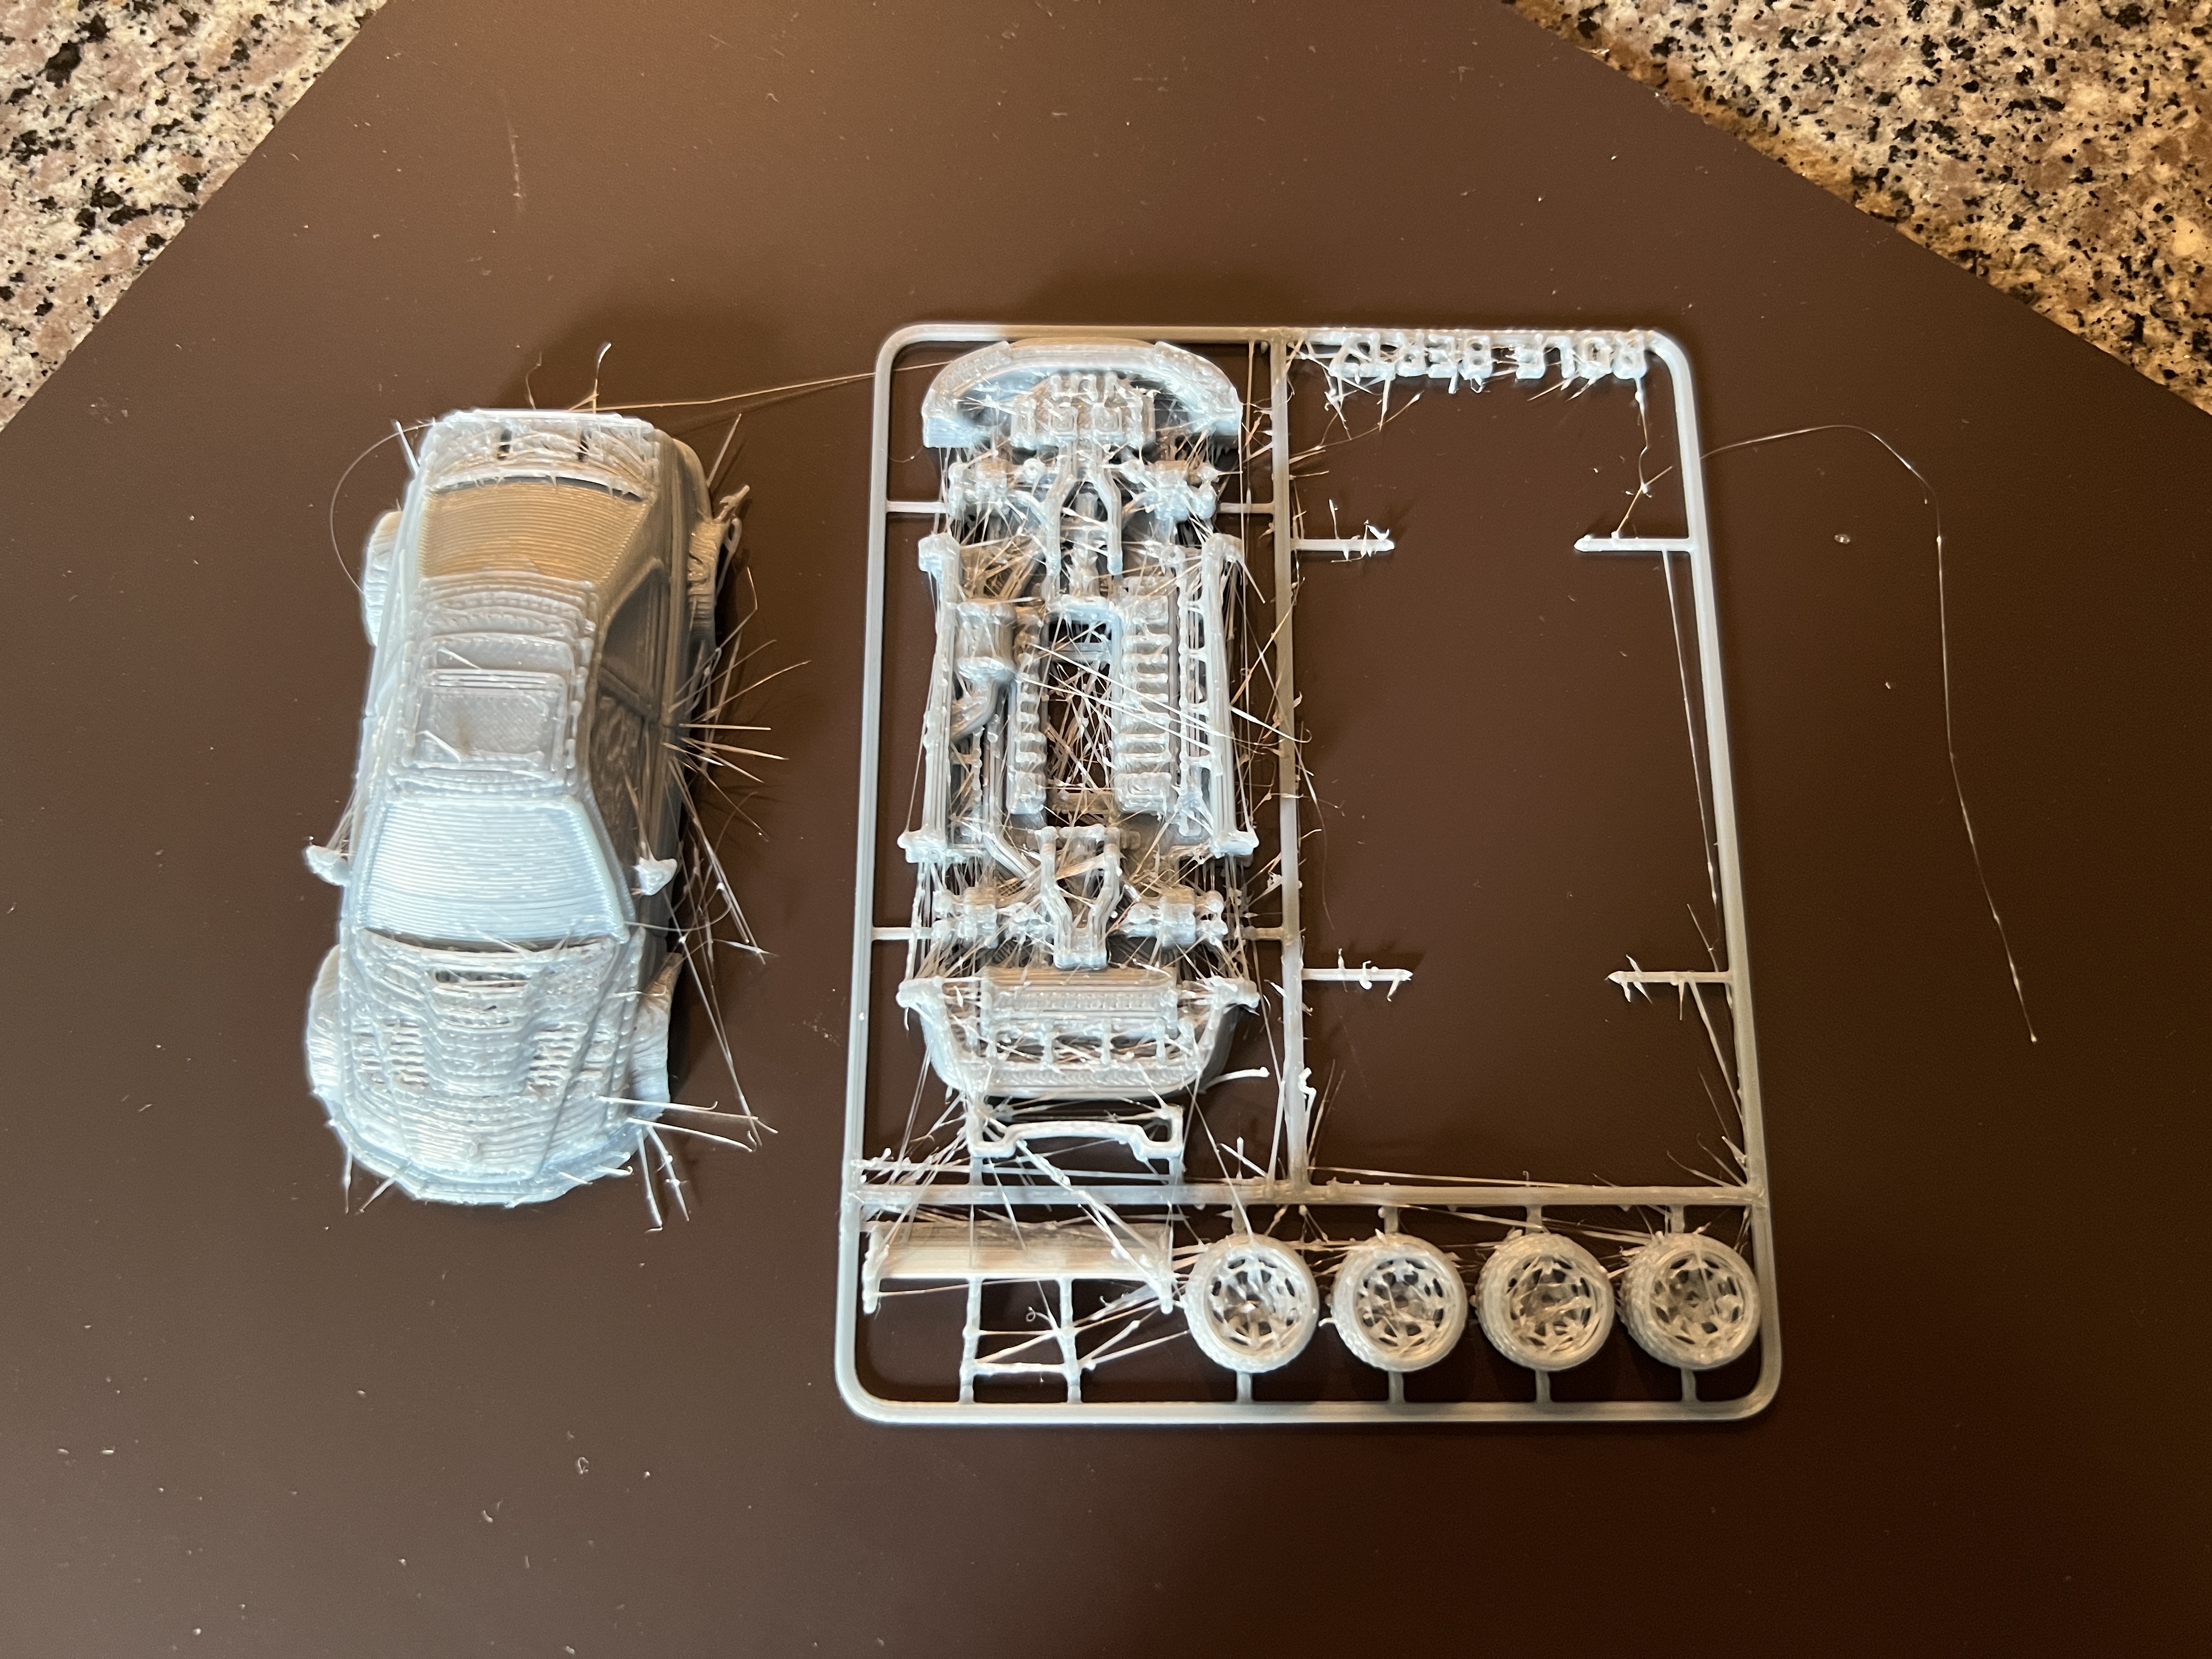
Going to have to reprint with a temp of 200, and of course check the nozzle print bed clearance again. Lesson learnt.
Here is the latest print. Looks like Im back on track. Oh BTW: I did face a nozzle jam on the prior to this one. Will make note.
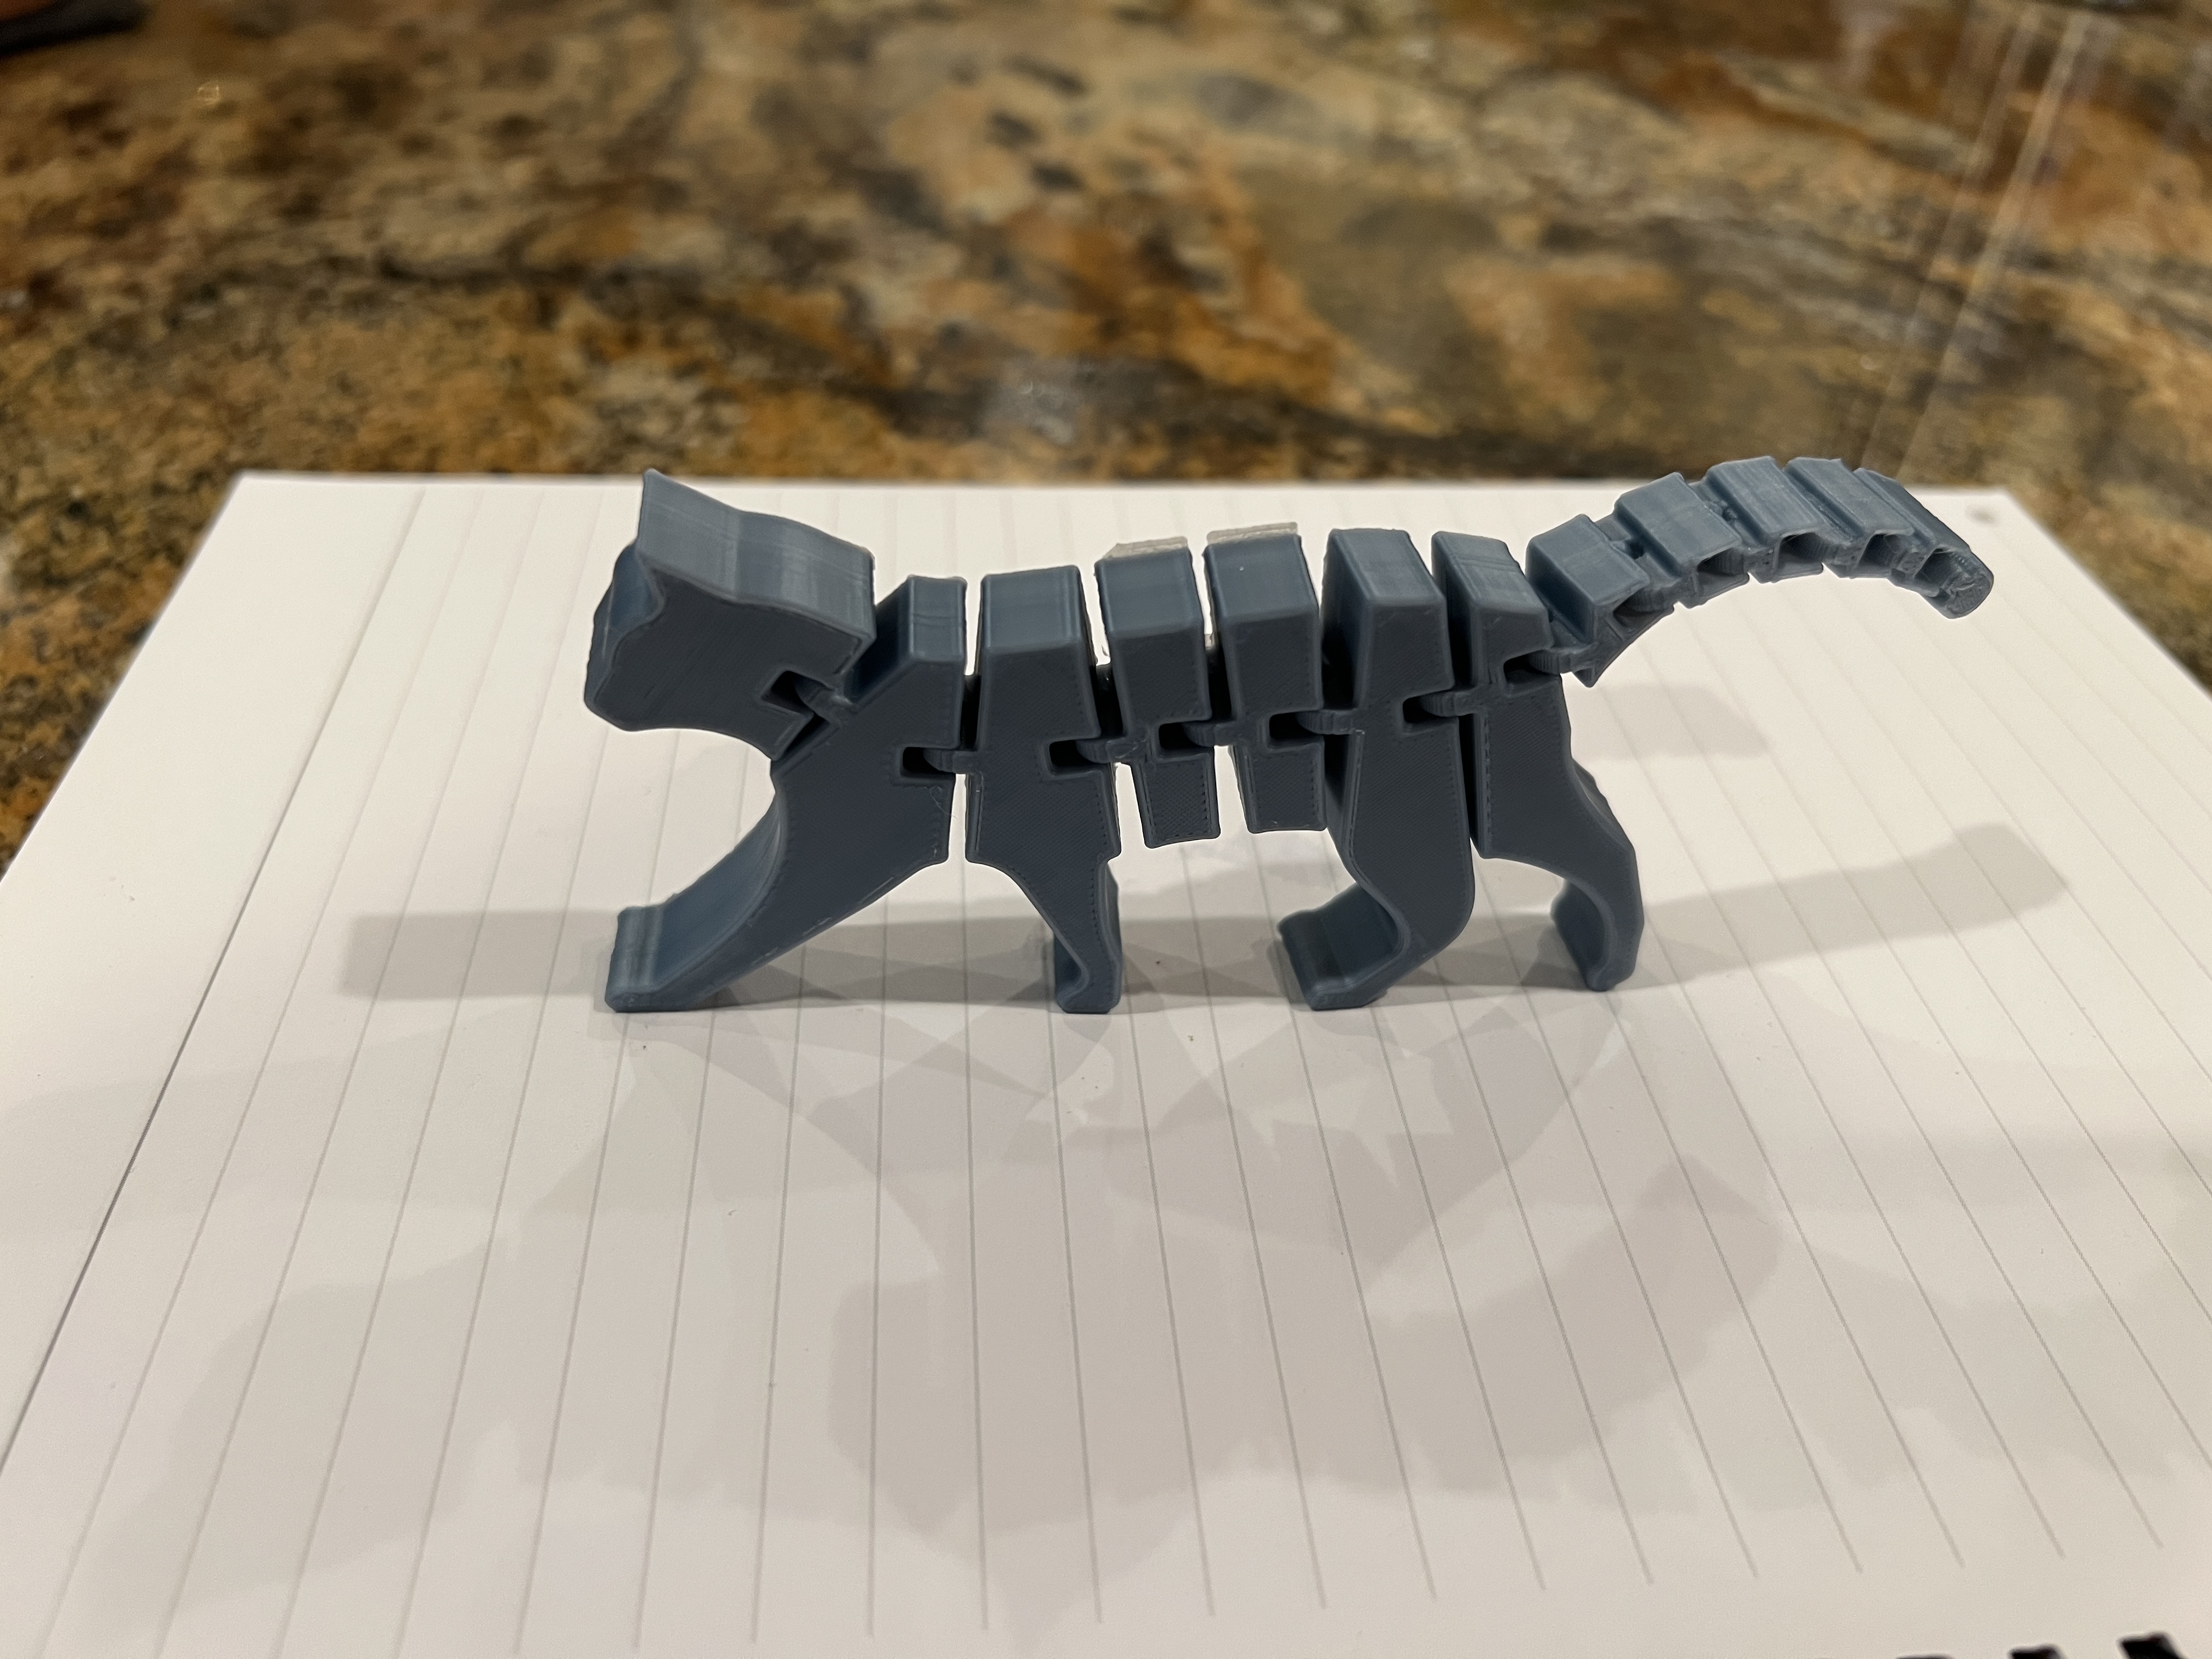
Couple more failures… looks like there is a slight gap between the Bowden tube and the nozzle causing clogging!
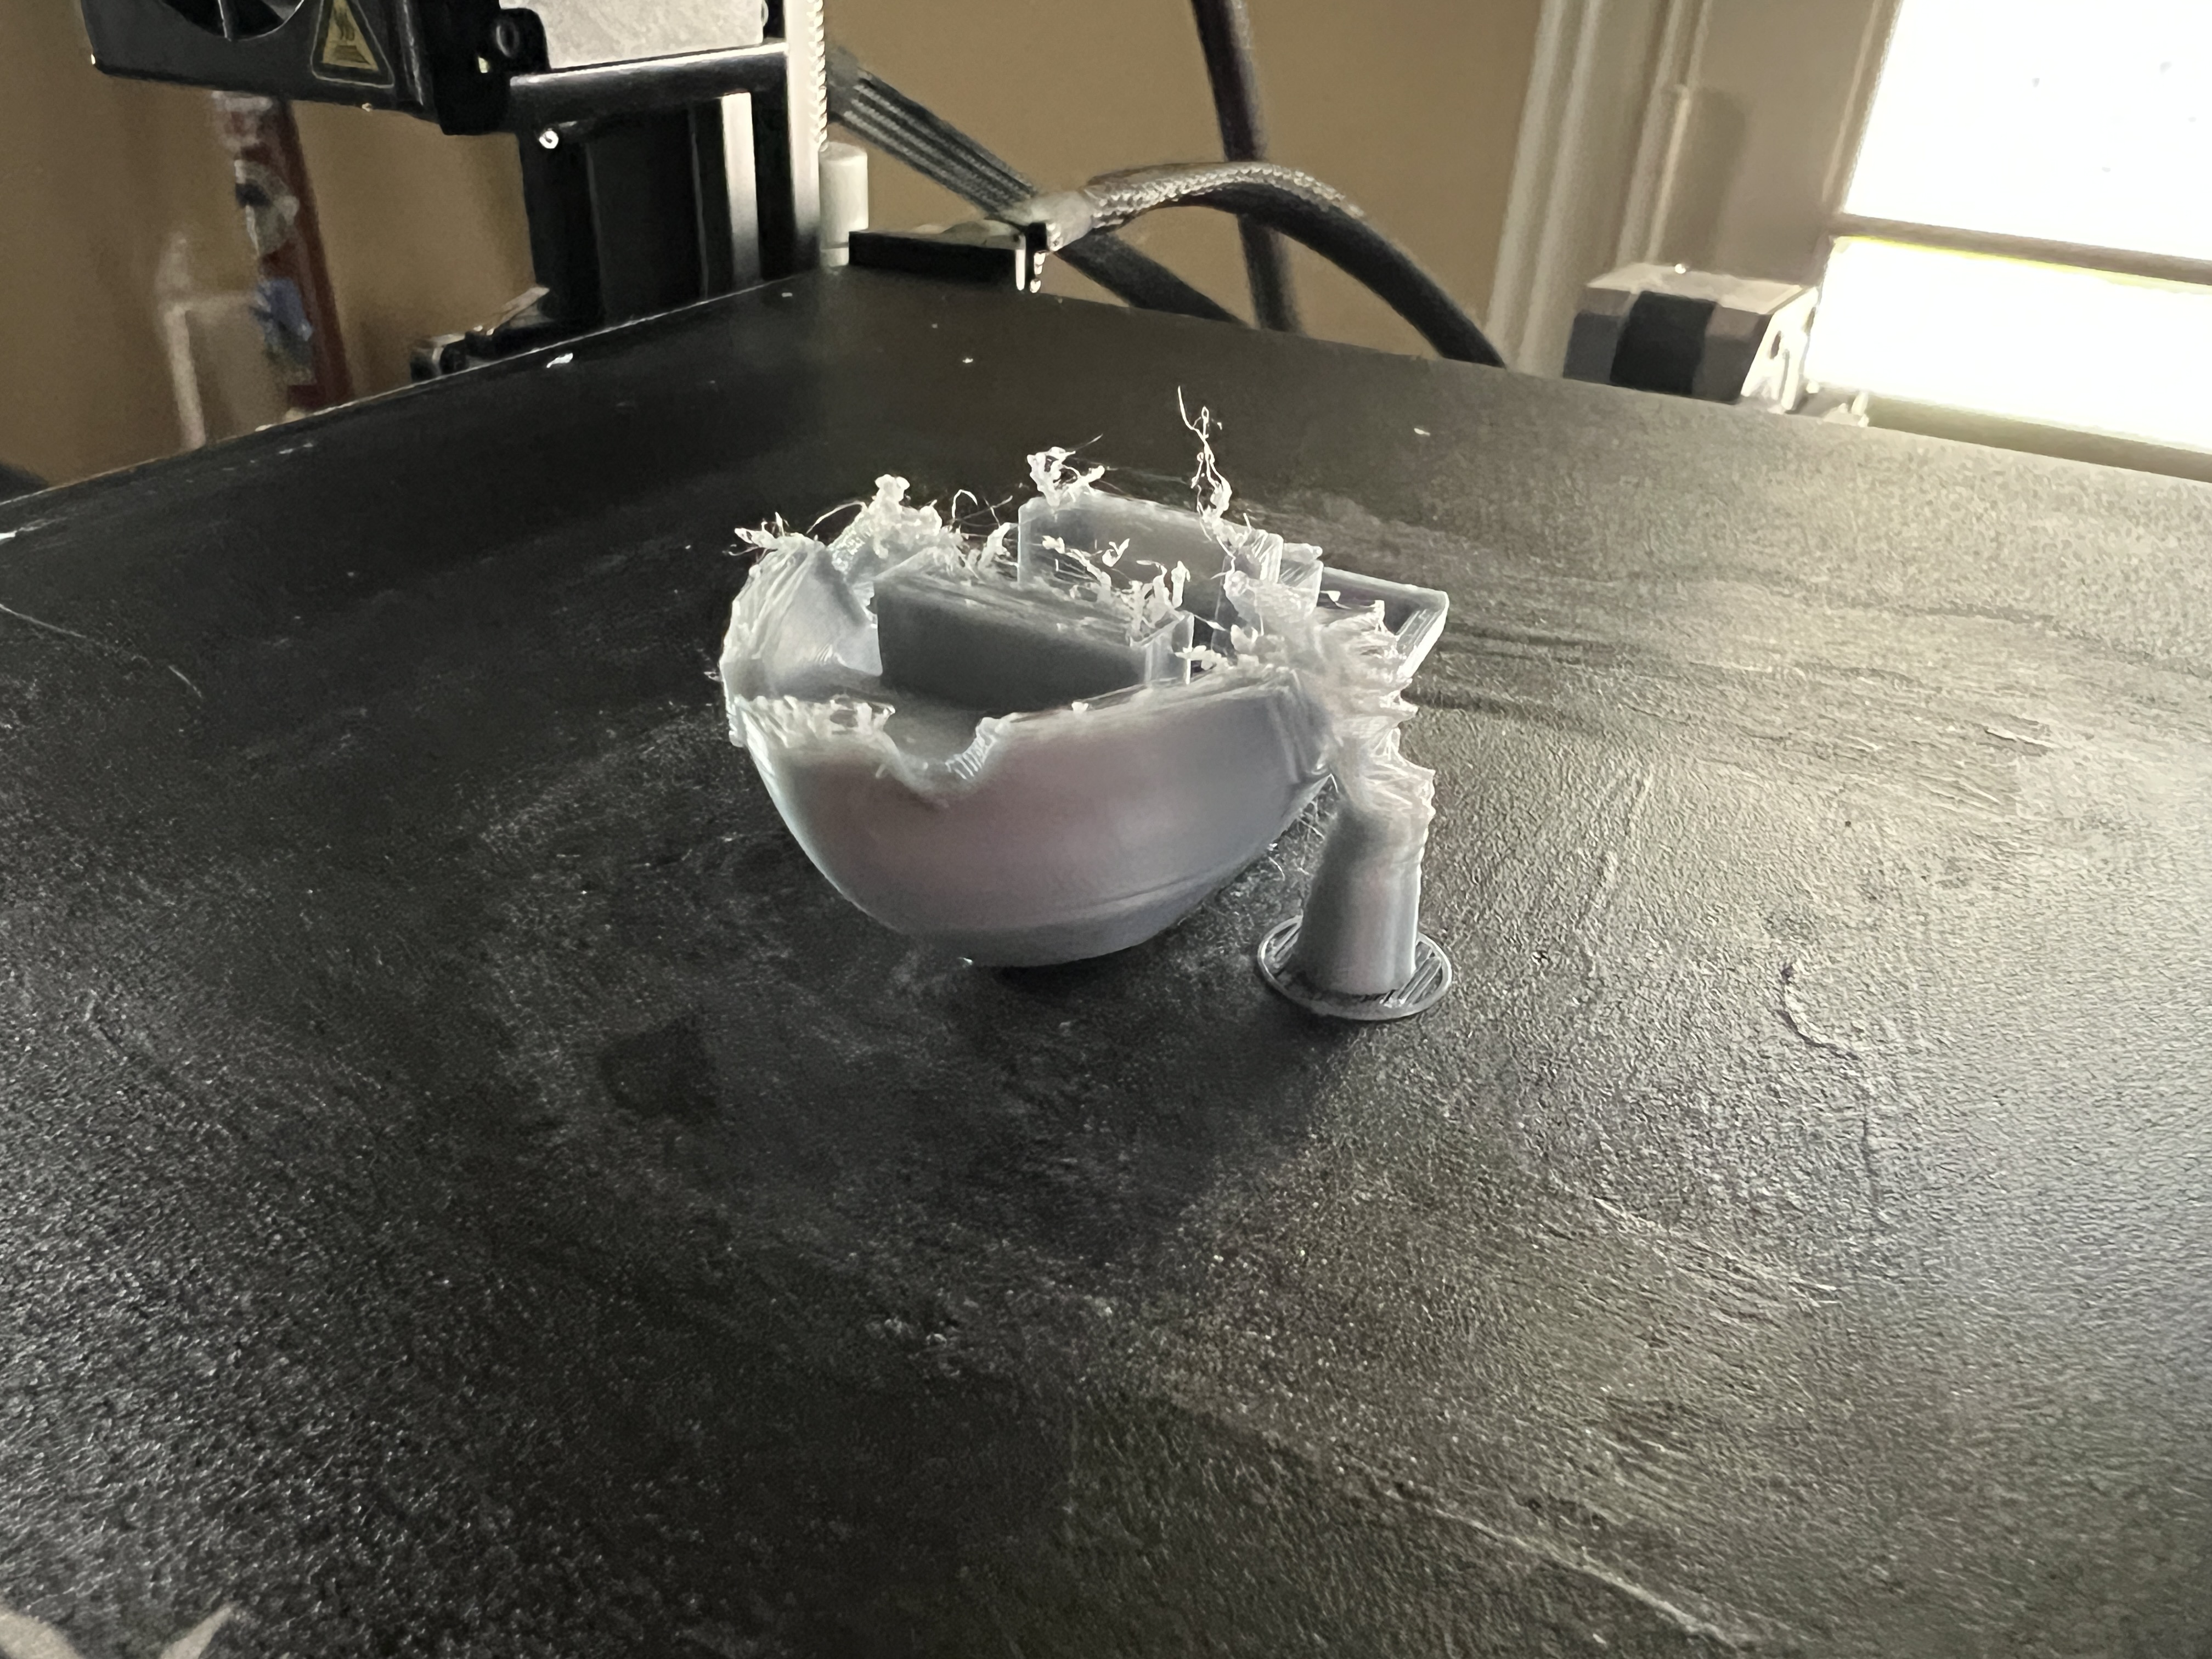
Lost one tube trying to fix that… using the second tube now! So, here’s the thing… dont forget to do this: “while pushing the Bowden tube in, make sure to keep the nut a turn or so lose. Once the tube is all the way in, and locked, then tighten the remainder of the nut. That will ensure a tight seal between the tube and the nozzle”. Let’s hope it works now… and it did.
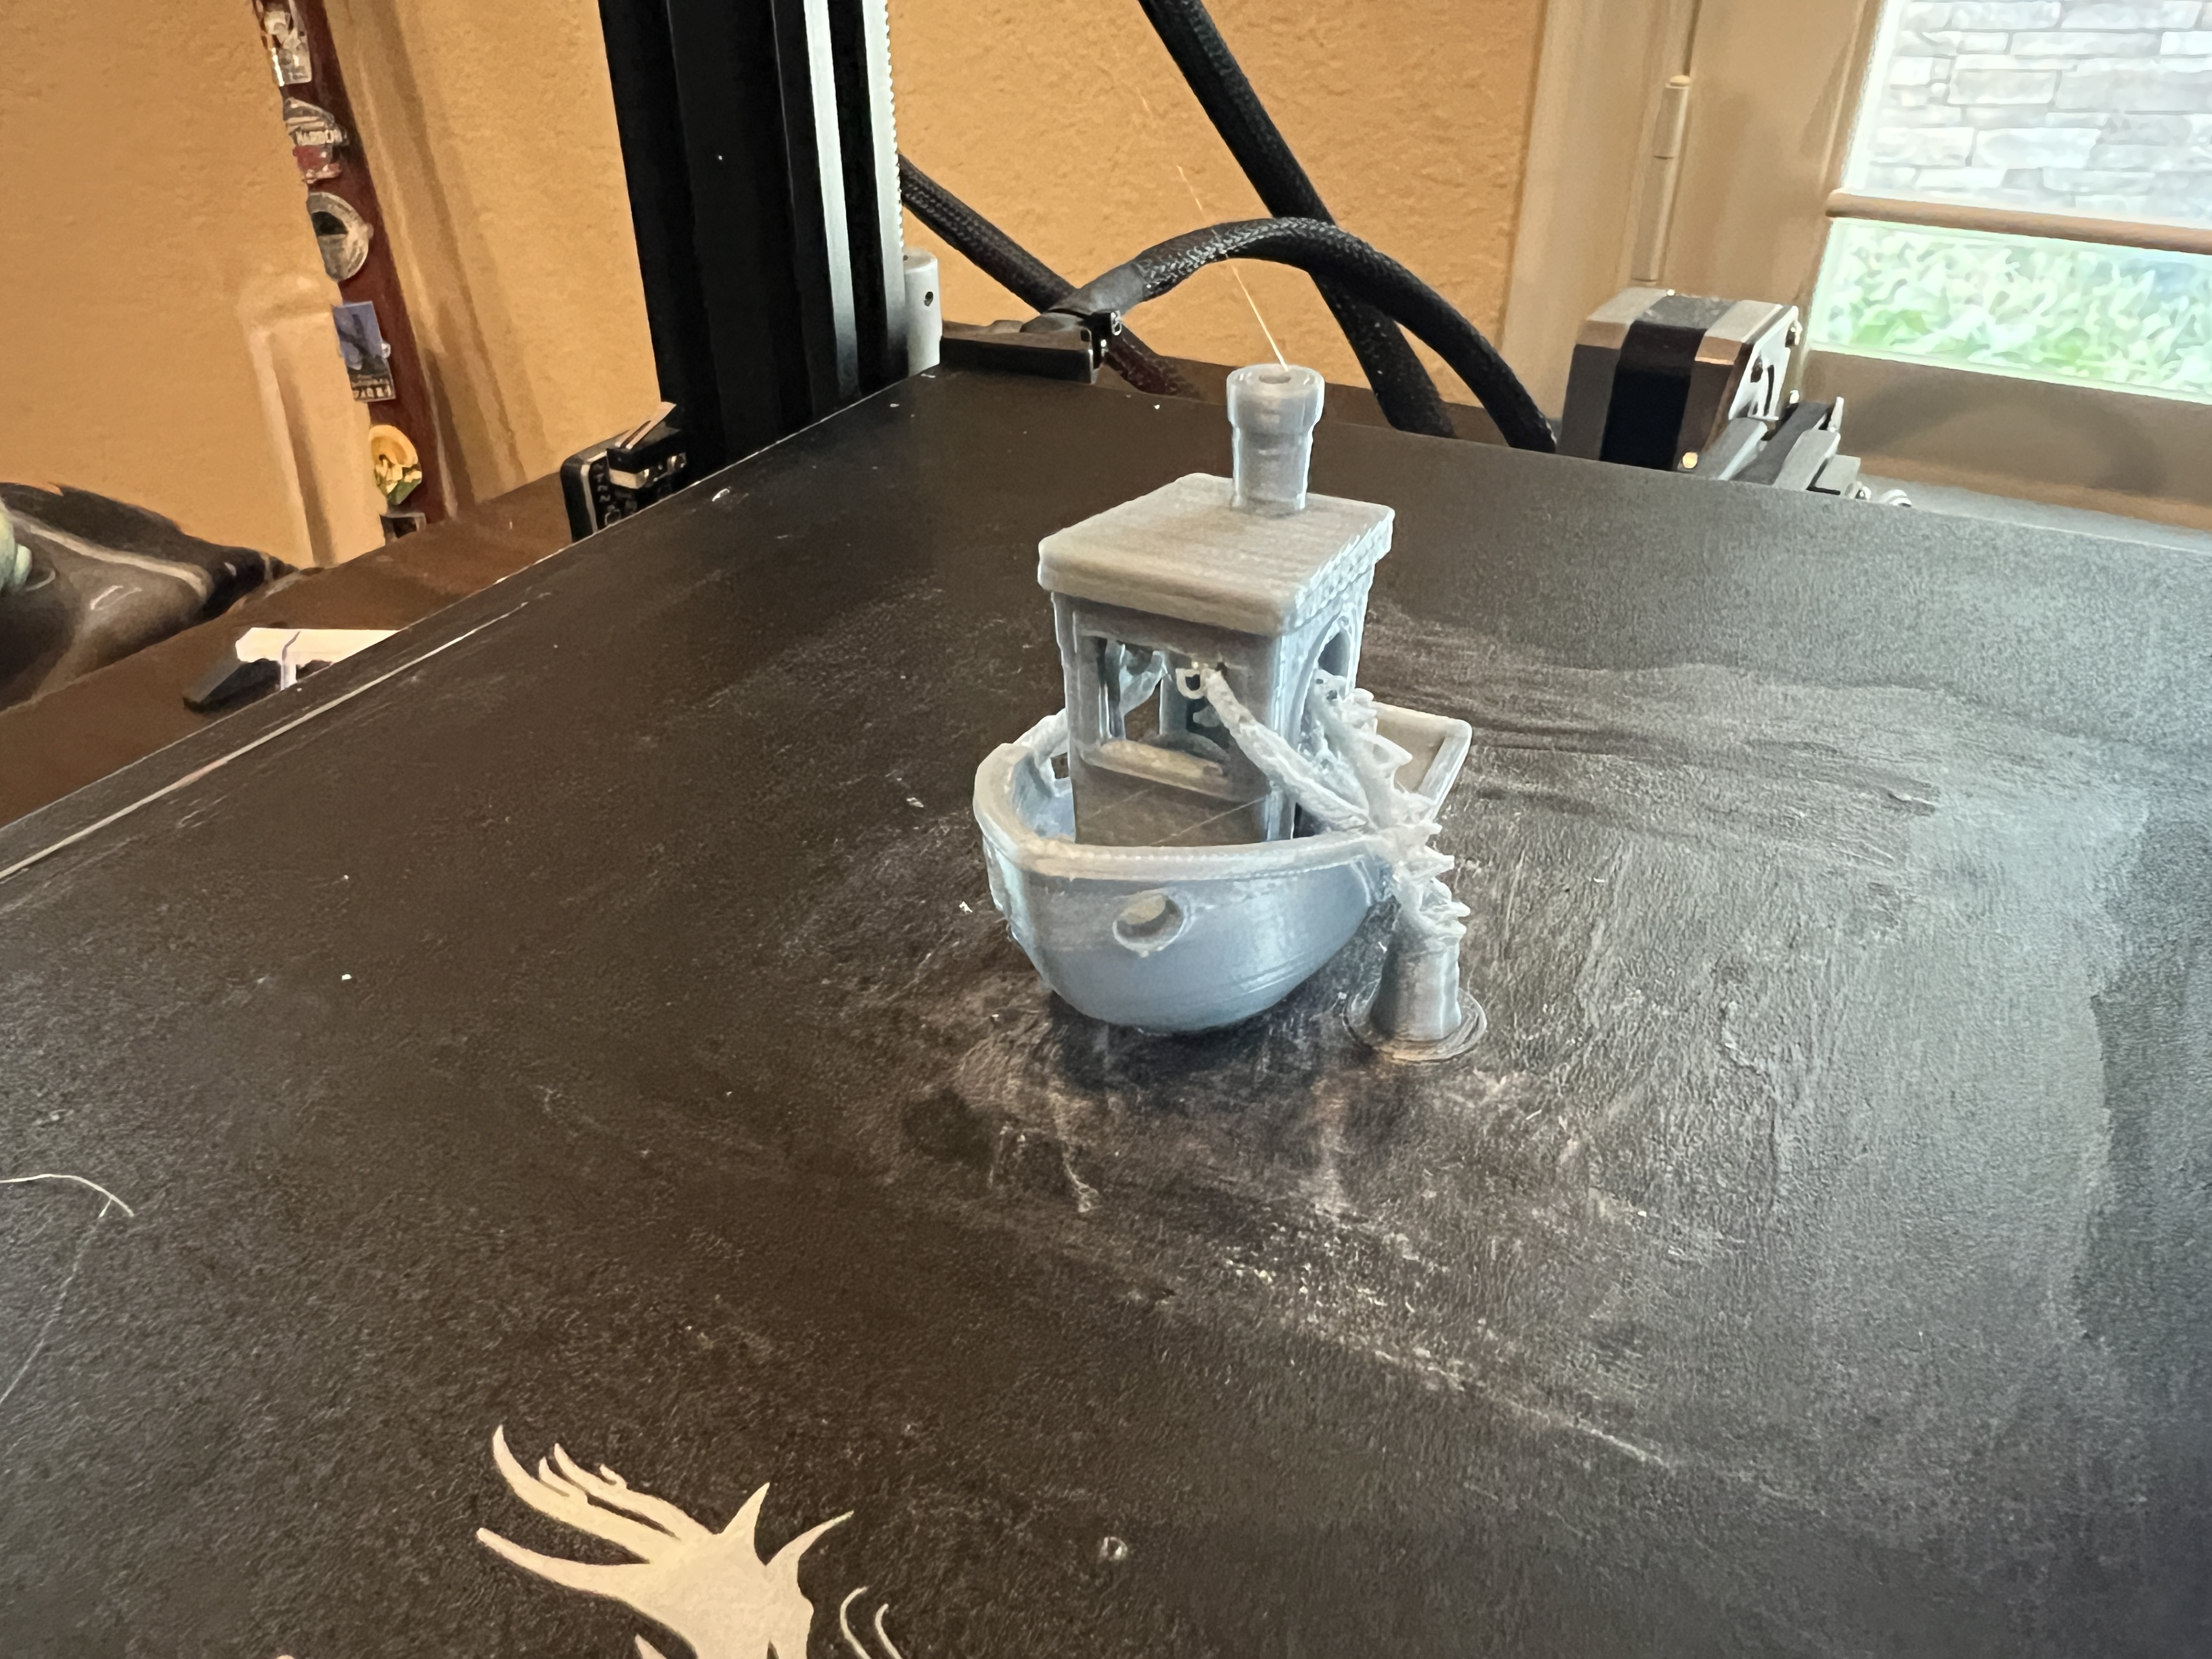
For my Ender 3D, this is the process I need to follow:
1 Heat the print bed to 60C
2 Align the nozzle and the print bed
3 Heat the nozzle to 200C and check the alignment again
4 Apply glue
5 For the print, use a nozzle temp of 200C and a bed temperature of 60C
6 Retraction distance of 3mm
7 Retraction speed of 20mm/s
If the print fails:
1 Check the nozzle – print bed clearance
2 Try to force extrude some filament to make sure the nozzle is clear, if this gives trouble,
3 Disassemble and clean the nozzle assembly, including the Bowden tube
There you have it… I hope this helps in case you have been struggling with the Ender 3D printer, like I have.
Summary:
Ghost Prints: If the build plate is too close to the nozzle, or if the retraction settings are not right, or there is a thermal issue with the heat sink, it causes the material to back up and solidify in the non heated part of the Bouden tube. This happens because the extruder keeps sending material to the nozzle, but the material has nowhere to go. This shows up as blank extrusions, clicking sound, filament getting chewed up and ghost prints.
Angel hair: Another situation is when there is an improper seal between the Bowden tube and the nozzle. This causes material to leak out and solidify, and restrict the flow of the filament. This shows up as hair thin extrusions, since some material can still pass thru, clicking sounds from the extruder and ghost prints.
Stringy Prints: This will happen if the plate is too far from the nozzle. Dont eyeball it. I have been using an index card to tune the gap, and it seems to be working well.
The 8 steps I have outlined above have helped improve the reliability of my printer.

